
“Wondering if you can build this cute clock for kids ? Don’t hesitate, it’s a no brainer !
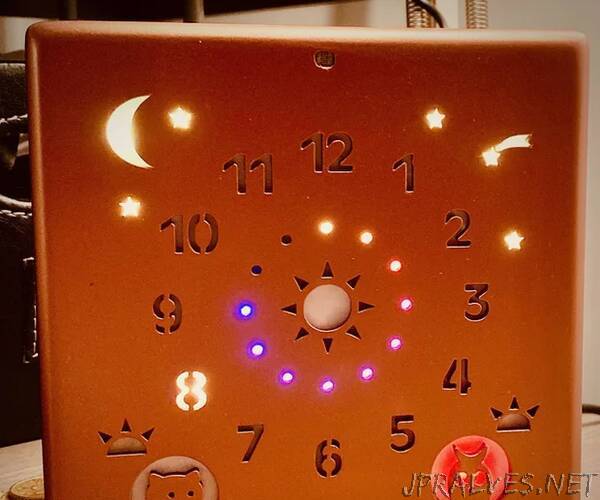
I made this little clock for one of my grand daughter: she is not yet able to tell the time and was often confused between night and day when waking up from an afternoon nap. So, the clock displays various elements depending on the current time: a rising sun in the morning, a full sun and a cat during the day, a setting sun in late afternoon, an owl, a moon and twinkling stars at night. No more confusion now, it helped her to better understand the time and she likes it very much.
I believe this tutorial is very accessible to all electronics DIYers, you will find step by step explanations to build and customize it as you want. Sometimes, for in-depth explanations, I’ll give you extra links. Required skills include a bit of electronics (say mostly soldering), a bit of software and 3D printing. In case you have difficulties, I’ll be happy to help.This tutorial is written both in English and French.
Time to start ! You need to gather up a few elements:
1 x Arduino Nano
1 x clock module
11 x LED WS2812 RGB modules
1 x 50mm diameter ring with 12 LEDS
1 x 90mm diameter ring with 24 LEDS
1 x 10kohms potentiometer
1 x Light Dependent Resistor (LDR)
2 x push buttons
1 x 0.1uF electrolytic capacitor
2 resistors: 1 x 330 ohms, 1 x 10 kohms
1 x prototyping stripboard (64 mm x 95 mm)
1 x single or double sided prototyping board (150mm x 200mm)
PLA or PETG filament (and of course a 3D printer)
1 x 5V power supply
1 x mini-USB chord
Primer, spray paint, varnish spray (vernis en spray)
M2 self-tapping screws”