
“I recently designed and breadboarded a simple Z80 based computer. This was the sort of thing I did for fun and profit years ago. This time it was, well, for fun and profit. But it was a little different. Back in the day I had a drawer full of Erasable Programmable Read-Only memory chips (EPROMs), as well as an EPROM eraser and programmer*. This time I had none of that. So I’d have to get inventive.
When I designed the system, I put in 2K of ROM/EPROM and 2K of static ram. Naturally when I bought parts, I got extras. So, that meant I had an extra 2K static ram chip sitting in a drawer. That’s a powerful thing: having extra parts sitting in drawers. What I decided to do was build an EPROM emulator using that ram chip, some transistor/transistor (TTL) logic and a microcontroller board.
I was using a Z80 assembler (z80asm from z80pack) on Linux to write code for the Z80, so using a microSD card seemed a reasonable way to get code from Linux to the emulator. Once I had decided to do that, I needed a way to navigate the file system on the card, select a binary file, and load it onto the RAM in the emulator. See how things snowball!
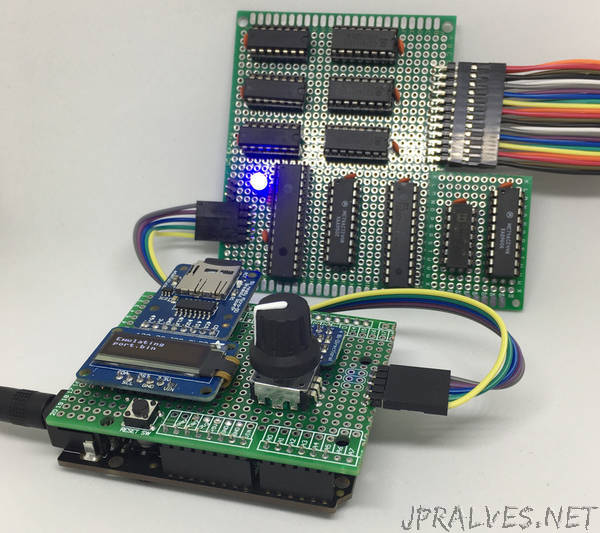
To make the project a bit simpler and more modular, I chose to divide it into two separate parts: the controller/user interface (UI), and the emulator. To maximize the flexibility of that separation, I decided to connect them using an I2C bus. That proved to be a very good choice as I went through several iterations using different microcontroller boards: from an Arduino Mega2620 to an ItsyBisty M0 Express and finally to an Metro M4 Express.
While I designed this project to support my work on a Z80 system, it can be used to replace a 2716 EPROM in any system. In this guide, I’ll call that system the host.”