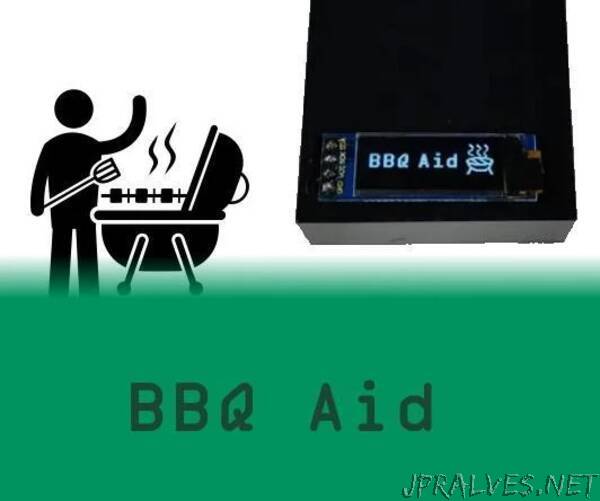
“Many people can’t tell the difference between barbeque and grilling. Heck, we almost always made a fire that put some blacksmiths to shame, just to grill those pork chops under 3 nanoseconds! (no, really, we used an industrial air compressor to fan the fire up until all the coal was red and no one could get near the grill, literally)
I was introduced to proper BBQ just a few years ago, and fell in love with low and slow. It’s now a sunny saturday task to ignite the fire, grill a round of chevap to keep people from starving, and after that, BBQ some pork spare ribs or collar for 6-8 hours, about 120C (250F). Of course, it wasn’t THAT good on the first and second try, and it failed because of the temperature. It went occasionally too high. How hot was it? You don’t know without proper measurement!
Yes, you can buy a smoker with builtin thermometer, but I would like to introduce you to DIY electronics. (or proper cooking if you already know how to program an Arduino, you should try this) It’s much fun to tinker and it’s always a possibility to upgrade - like adding an audible warning signal or changing the splash screen.
The key to success is controlling the temperature for very long. But since my stuff runs on coal and wood (I find gas BBQ a bit heretic), putting enough solid fuel for 8-10 hours is not an option. I ended up with a small heap of coal and I check it every 20-30 minutes, but we both need a proper thermometer to check the actual temperature. That’s what we make today!
Supplies
- Arduino Pro Micro
- A box
- USB cable to sacrifice
- MAX31855 module with a thermocouple
- SSD1306 128*32 pixel OLED display
- Proto PCB
- Some capacitors (10 and 1000 uF, at least 10V electrolytic)
- (optional) extra pin headers if resoldering
Tools: solder iron, solder, wires”
