
“This project began in a rainy summer 2021 in Corona lockdown when I started to write a BASIC interpreter for Arduino from scratch. The project was simple and mainly targeted for Arduino UNO and other small systems but has now outgrown this beginnings.
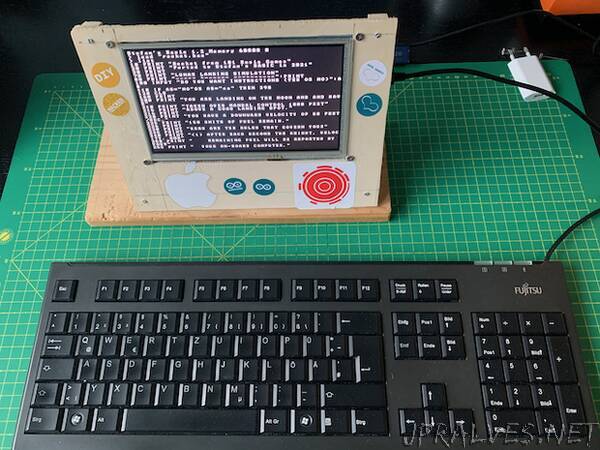
This project is to show how one can build an entire standalone computer with it much like the ones which conquered the home computer market in the 80.
For more details on how this started, the interpreter architecture and BASIC in general, please take a look into my repo https://github.com/slviajero/tinybasic/wiki. There is a small manual of the BASIC interpreter and the supported hardware.
After two less ambitious projects of building asmall LCD shield BASIC computer and anAIM65 inspired system, this is the attempt to build a real computer.
The computer here is an Arduino DUE based home computer with a 7 inch 800x480 graphics display, printer support, SD card disk, a PS2 keyboard and a real time clock. It includes full Arduino I/O support and an easy way to access I2C devices from the BASIC language. Optional RF24 support is available.
This instructable is an extension of my work in the Arduino project hub. https://github.com/slviajero/tinybasic/wiki/Projects:-4.-A-standalone-computer-with-a-TFT-screen
The system is based on an Arduino DUE microcontroller. It offers enough RAM to have 60kB of BASIC memory in your home computer. The processing power of the ARM based CPU is sufficient to drive a 7 inch TFT screen.
The other essential component is the TFT screen. I use a 7 inch 800x480 SSD1936 screen. These devices are supported by the UTFT library for Arduino. Selecting a suitable screen can be tricky. You need to consult the UTFT documentation if you buy another model.
To connect the DUE with the screen a TFT shield is needed. There are shield for Arduino MEGAs and for DUEs. These are separate models. They differ in the way the SPI bus is handled. You will need a DUE shield if you use a DUE microcontroller. This instructable also works with MEGA 256 microcontrollers. For them you need a MEGA shield.
In addition to this you need two medium size breadboards, an PS2 connector, a PS2 keyboard plus some cables and a logic level converter.
You need the Arduino IDE as a software component as well as my BASIC interpreter from the repo https://github.com/slviajero/tinybasic.”