
“Introduction
The story is simple. I decided my electronics learning journey had reached a point where an oscilloscope would be a useful tool to have.
However, I’m not sure how long this electronics hobby will last and so I didn’t want to spend big dollars on what might become an expensive paper weight. In fact I’m such a cheapskate that I didn’t even want to spend small dollars.
After some research and checking out my (sparse) parts bin and various piles of junk in the garage I figured I could build a microcontroller based scope that would be good enough for my very modest needs - without having to purchase any extra hardware.
Microcontroller
The first step was to choose which of my microcontroller development boards to use. I have a few Arduino boards (a Uno and Nano) and a Raspberry PI Pico. The 500kS/s sampling rate of the Pico vs the 77kS/s maximum sample rate of the Arduino’s meant this decision was a no-brainer as long as I could find some appropriate software.
Software
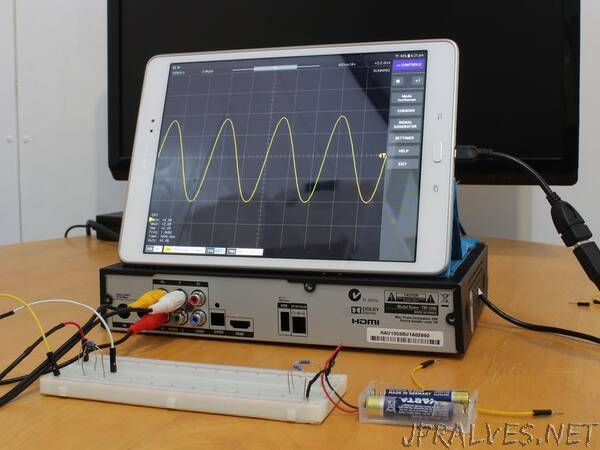
Obviously I would need to run some software on the Pico to capture the samples, display the waveforms and handle things like triggering and scaling. Not having the inclination (or skills) to write the software myself I put my Google search skills to the test. After nearly giving up I finally came across a project called Scoppy. The software that runs on the Pico is open source but it doesn’t provide any UI. For that you need to install an Android app which unfortunately is not open source so not ideal. However in the absence of any better alternatives I decided to go with that.
Enclosure
For the enclosure I decided to use the case of a PVR that I rescued from a dumpster some time ago.”