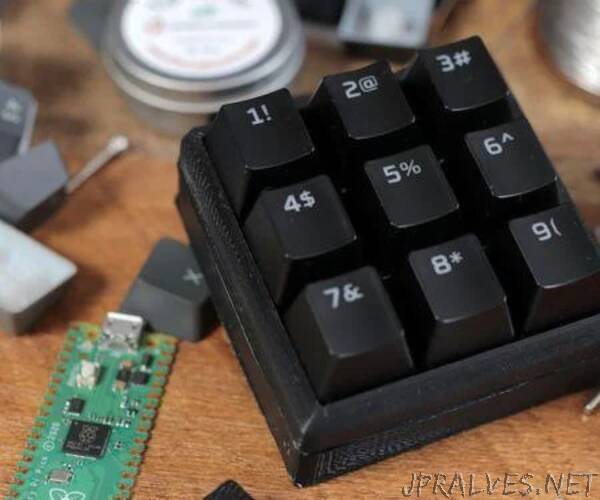
“In this instructable, I am going to show you How to Build a Macro Pad using Raspberry pi pico
Pico KeyPad is a must-have shortcut keyboard for your PC work.
This keypad consists of 9 keys (you can add more no. of keys), the size of this 3x3 keypad is small and can be easily carried out.
All this 9 keys can be programmed for any shortcut. You can use it during programming / Coding or during editing and more, all the software shortcuts are compatible with this keypad.
In this written tutorial we a going to see how can we make it.
A macro pad is a series of buttons that allow you to trigger specific actions. Copy/paste is an excellent example of this type of function. If you press CTRL + C on your keyboard, this activates the copy shortcut and copies whatever you’ve highlighted to the clipboard.
Now, what if you could copy with only a single keypress?
What if you could trigger other actions, such as starting and stopping your Twitch stream? A macro pad lets you do that. What most people don’t know, however, is that these keypads are surprisingly easy to build, and the inexpensive Raspberry Pi Pico is the perfect microcontroller for the job.
Furthermore, once you know how these controllers are made, you can create a customized version that will put many commercial keypads to shame.
To create your own Macro Pad on a budget, you’ll need to buy the following items.
1 Raspberry Pi Pico.
9 Gateron switches.
9 Keycaps.
A Soldering iron and soldering station.
1 Solder.
(4) M3 x 16 screws
.A 20 ga wire (about 2 feet).
1 Wire stripper.
A computer (for programming the Pico).
A case to put everything into.
A USB-C to micro-USB cable.
The most expensive part of this project is arguably the Raspberry Pi Pico. And if you have a 3D printer, you can save some money by printing the case and the keycaps yourself. Alternatively, you can have these printed for you instead; a selection of online options exist for these.”
