
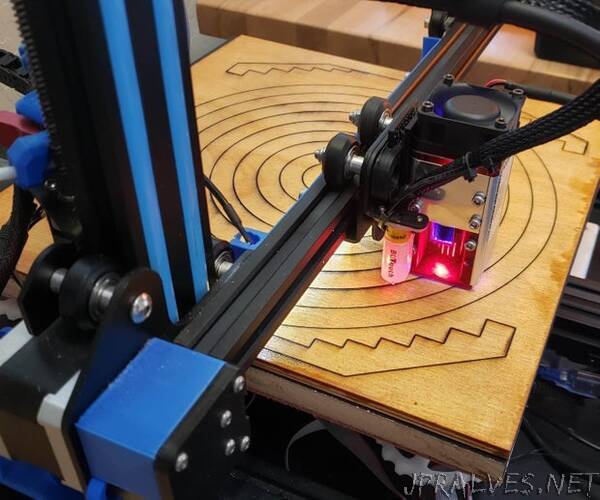
“I wanted to laser engrave a clock face for a magnetic clock I am building, but didn’t want to invest in a laser engraver without knowing how much I would use it. Also the clock face is larger than most laser engravers allow. I have a CR-10 3D printer, which can be driven as a laser engraver, and has a 300x300mm workspace. I just needed to figure out how to mount and drive the laser on the CR-10.
After some research, I discovered you can drive most diode laser engravers from the PWM output of the part cooling fan. However, you can’t just use the fan wires already connecting the printer control board to the cooling fan. You will need to power the laser separately and connect the laser PWM to the 5 volt input of the fan control MOSFET for it to work.
Supplies:
To connect the laser engraver to the printer you will need:
Any 3D printer
Laser engraver/cutter similar to this one
Wire
100 ohm resistor
Connector for laser like this one
3/8 inch round pot magnets similar to these
(2) M3 x 30mm and (2) M3 x 10mm screws
3D printed laser mount mount
To build a laser shield:
Jtech Photonics Laser shielding (2) 12”x12” and (2) 12”x24” pieces
3D printed connectors for shielding”