
“I wanted BOTH a 3D Printer AND a Laser - in one device.
With minimal switcharoos necessary to go from one to the other.
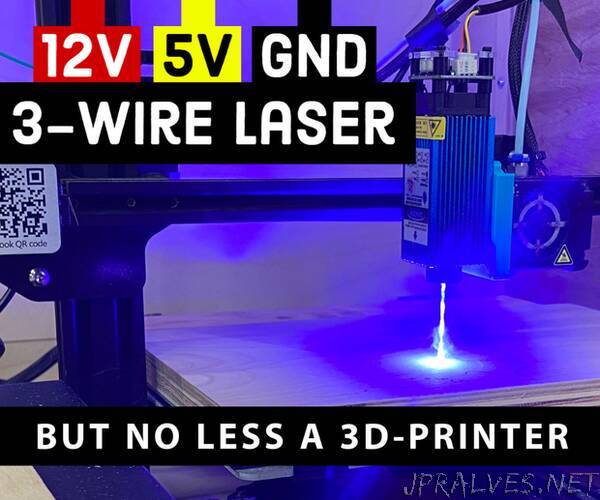
So, I modified my wonderful Creality CR10S 3D printer (an Instructables prize!) by adding an inexpensive “5.5W” 3-wire laser. Today, I’ll show you how.
Objectives:
Mount a 3-wire laser on my CR-10S 3D printer
Control it via the incredible LightBurn software
Keep the CR10 still completely operable as a 3D printer without having to remove the laser.
Cut 1/8″ Baltic Birch plywood (even if it takes multiple passes)
.
Supplies:
Main Parts
Creality CR-10S 3D printer
5.5W Laser w/ 5V PWM. Options: (notes in next step)
Along with this 3018 CNC kit as I did, or
Standalone SainSmart Laser on Amazon
12mm x 3mm Neodymium magnets
3mm Screws
Kill Switch
.
Other Parts & Supplies (further explained in the following steps)
6” Flex Hose
6” Self-closing exhaust vent
6” In-line fan
Fan speed controller
Dark green laser safety glasses
Laser panels from JTech
Soldering iron
Fire extinguisher”