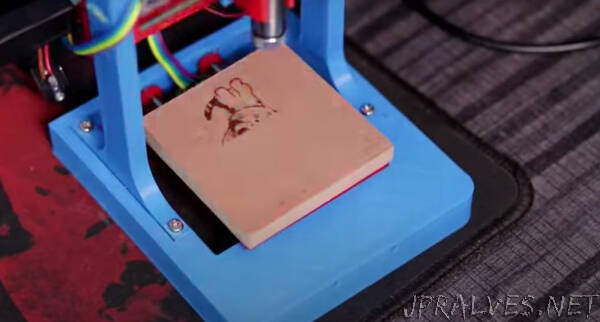
“Who doesn’t love a bit of laser engraving? Unfortunately, most of us need to hire the services of a professional to get the job done.
Thankfully, with this great little DIY project, you can make your own out of some common electrical components, some old DVD writers, and some 3D printed parts!
ike any project of this nature, you are going to need a few bits and bobs. For this build, you will need:
Arduino Nano
2 no. old DVD writers (you want the stepper mechanisms within)
4 no. small neodymium magnets (or salvage from the DVD unit’s lens mechanism).
250W laser engraver
1 no. A4988-stepper motor driver module with heat sink
1 no. IRFZ44N MOSFET
Soldering kit
Screwdriver set
Electrical wires, resistors, and soldering gear.
Assorted PCB wire female connectors and male pins.
A 3D printer, or ask a friend with one to help out
Various 3D parts. The models for these are available here.
Custom PCB board.
Custom app
With all the materials needed in hand, it is time to get on with the build.
The first step is to begin to dismantle your old redundant DVD writers. You are after the stepper motor mechanism and rods within. Everything else can be disposed of kept for future salvage — the choice is yours.
Cut off any remaining flex-PCBs and put them aside ready for later.
Next, print out all the 3D parts needed. You can find these here (we have also included a link in the list of materials needed above). For added “coolness”, print the various parts in different colors — though this is completely optional.
With the 3D parts printed off, grab the rail holder parts and affix the DVD stepper motors to them, as shown in the video. Next, assemble the bracket pieces that will hold, and move, the platform and laser once complete. “
