
“Intro: Arduino IoT Cloud
Arduino IoT Cloud is a platform that enables anyone to build IoT connected object with ease. In order to control our TV using Alexa, we’ll also be using the Official Arduino Alexa Skill.
If you are new to Arduino IoT Cloud, we advise to first take a look at this introductory project, which will give you an overview and guide you through the process of setting up one of the supported boards, IoT Cloud Things and Properties and get you onboard.
Part 1: How to Control a TV Set
The easiest way to control any kind of television, is to act as if we were its very own remote infrared controller. In order to do so, we’ll have to listen for the signals the remote will send, capture the data and mimick it with our Arduino board. Once the circuit is assembled, we’ll upload this sketch to our board. It will traslate the IR signal bursts generated by remote button presses into an array of unsigned integers. Let’s point the remote at the Arduino IR Receiver we built and press the following buttons:
POWER/STANDBY
CHANNELS FROM 1 TO 9
VOLUME UP
VOLUME DOWN
MUTE
CHANNEL UP
CHANNEL DOWN
Part 2: Arduino IoT Cloud
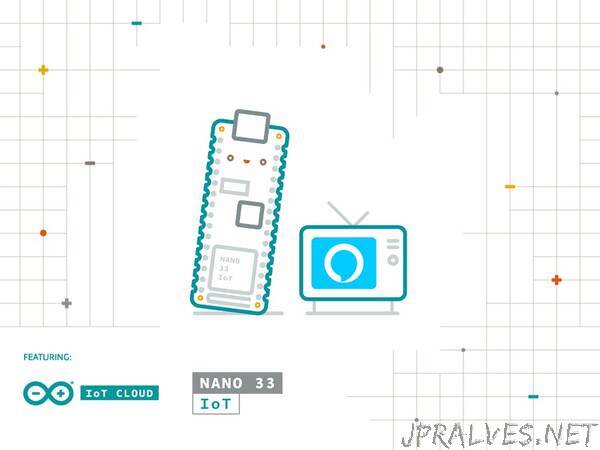
From the main Arduino IoT Cloud page, we’ll create a new Thing and assign it a meaningful name. Let’s call it TVRemoteController. We’ll then select the board we are going to use. For this tutorial we used an Arduino Nano 33 IoT, but if you have another compatible board it will also be fine, just keep in mind that the pinout and the behavior of the IR library might change. If at this point you cannot see your board, you might have skipped the Getting Started procedure we mentioned above, if this is the case, go back through that process.
Once done, we’ll add one Property to our Thing, it will represent our TV set. Under the Smart Home category, select “TV” as Property Type, set it as “Read & Write”, and under “Update” select “When the value changes”.”