
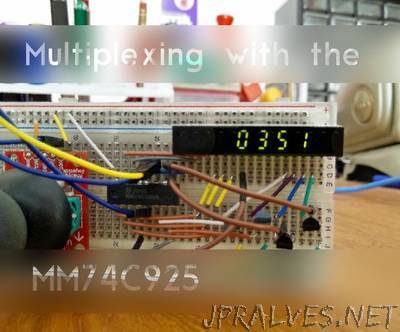
“I often find myself using seven segment displays in my projects, as they possess a retro look. Not only do i like using them but i also like making them. Through my encounters with seven segment displays i have learnt the many ways to control them with Arduino. These are probably the ones most people are familiar with, I personally used the shift register method until i found the MM74C925N. One day whilst making a purchase of LED’s from my favourite LED supplier (led sales), I noticed they were selling a chip labeled as a “4-digit counter with multiplexed 7-segment display output drivers” this immediately sparked my interest and I bought 4 of them considering they were only $1.6 AUD. When I received them I got on my computer and looked up some tutorials on how to use them with Arduino, but I found nothing. I typed the chips name into the search engine but all i found was data sheets. Finally after reading a couple data sheets and looking at the schematic of a project some one had built 30 yrs ago, I worked out how i could use the MM74C925N with Arduino.”