
“Everything about this alarm clock is controlled from your smart phone using the Arduino Cloud. And it sets itself using NTP time.
Alarm clocks usually come with a variety of buttons and switches. As a minimum, we need to set the clock time, set the alarm time, and turn the alarm on and off. We might also want to deal with daylight savings time (DST), and a 12 hour vs. 24 display.
As a fun project to 1) try out many of the features of the Arduino Cloud, and 2) try the new Nano ESP32, I’m presenting here an alarm clock with no external controls at all. The clock itself gets the time from NTP (the Internet’s Network Time Protocol). Then all the controls to set time zone, DST, 12 hour/ 24 hour clock, set the the alarm time, and turn the alarm on and off are set on your smart phone through the Arduino Cloud App.
Hardware
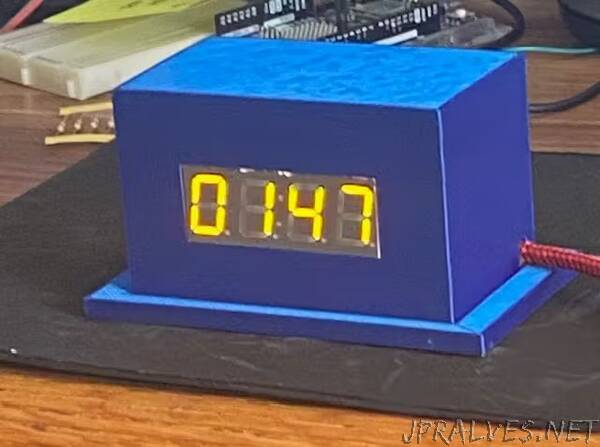
To keep the hardware as simple as possible, the time is displayed on a 4 digit, 7 segment display with an integrated I2C interface. The alarm sound is provided by a small piezo buzzer module. Both the display and the buzzer are powered at 3.2 volts directly from the Nano ESP32. Power for the Nano ESP32 is supplied through the USB cable and a USB wall charger brick.
If you have access to a 3D printer, I have also included the STL files for a small case (two files - one for the clock case itself and another for a base that it snaps into).
The two photos above show how all the components are mounted in the case. They are all held in place with a small amount of hot glue. See the schematic below for details of how the components are interconnected.
Software Overview
The software for our alarm clock is a little more complicated than the hardware. We need an Arduino Cloud account. We need to set up an App in that account which consists of three parts: a device (our Nano ESP32) linked to the cloud, a dashboard app that runs on a mobile smart phone, and a sketch or code that runs on our Nano. That sketch in the case of our alarm clock is basically a mash-up of three different sketches:
- The ESP32 NTP Client-Server example posted many places, such as: https://randomnerdtutorials.com/esp32-date-time-ntp-client-server-arduino/The program gets the time from an NTP server and sets up the built-in RTC (real time clock).
- The demo_displayTime example contained in the HT16K33 library. This sketch displays the time on our 4 digit, 7 segment display. The HT16K33 is the IC built into the display that provides the I2C interface.
- The Arduino Cloud sketch resulting from the Dashboard and Thing setups to control the alarm clock from the smart phone app.”