
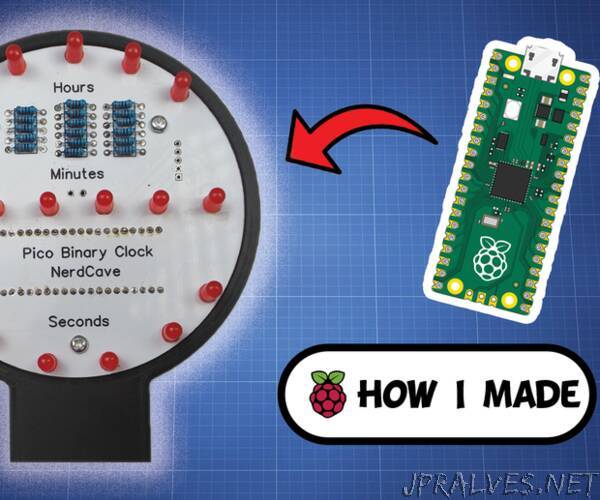
“In this project, we’ll be using a Raspberry Pi Pico and some LEDs to create our own binary clock. Why make your own binary clock? Well, for one thing, it’s a fun and nerdy way to display the time. But beyond that, it’s also a great way to learn about binary and how it works. Plus, building a binary clock is a great way to practice your programming and electronics skills!
How does Binary work?
In decimal (or base 10) notation, we use 10 digits (0-9) to represent numbers. Each digit has a value based on its position in the number. For example, in the number 123, the digit “1” represents 1 hundred, the digit “2” represents 2 tens, and the digit “3” represents 3 ones.
In binary (or base 2) notation, we use only 2 digits (0 and 1) to represent numbers. Each digit still has a value based on its position, but the positions are powers of 2 instead of powers of 10. For example, in the binary number 1011, the leftmost digit represents 8, the second digit from the left represents 4, the third digit represents 2, and the rightmost digit represents 1. Adding up these values gives us the decimal equivalent of the binary number, which is 11.
Supplies
I have added two lists below for the components needed either for a breadboard version or a PCB version. The components used are easy to find in most common electronic stores.
Breadboard:
- 1 - Raspberry Pi Pico W
- 1 - Breadboard
- 1 - Micro USB Cable
- Wires serveral
- 17 - 330 Ohm resistors
- 17 - LEDs
PCB
- 1 - Raspberry Pi Pico W
- 1 - Micro USB Cable
- Wires serveral
- 17 - 330 Ohm resistors
- 17 - LEDs
- PCB
For the PCB version, you will require a few tools to solder the components to the PCB.”