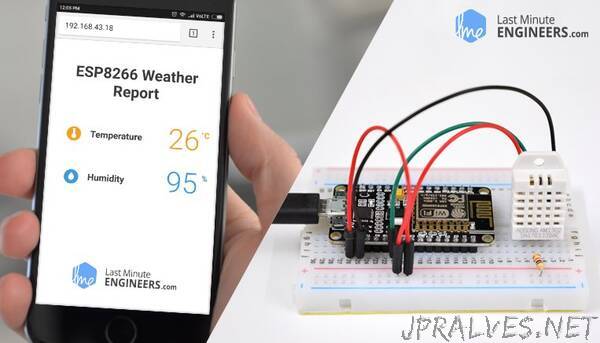
“Have you ever wanted to have sensors scattered all around your house and garden reporting their temperature regularly to a central server? Then, this IoT project might be the solid launching point for you! This project uses ESP8266 NodeMCU as the control device that easily connects to existing WiFi network & creates a Web Server. When any connected device accesses this web server, ESP8266 NodeMCU reads in temperature & relative humidity from the DHT11, DHT22/AM2302 sensor & sends it to the web browser of that device with a nice interface. Excited? Let’s get started!
Wiring – Connecting DHT11, DHT22/AM2302 sensor to ESP8266 NodeMCU
Connecting DHT11/DHT22/AM2302 sensor to ESP8266 NodeMCU is fairly simple. Start by placing the NodeMCU on to your breadboard, ensuring each side of the board is on a separate side of the breadboard.
Now place the sensor on to your breadboard besides NodeMCU. Connect VCC pin on the sensor to the 3.3V pin on the NodeMCU and ground to ground. Also connect Data pin on the sensor to D8 pin of the ESP8266 NodeMCU. Finally, we need to place a pull-up resistor of 10KΩ between VCC and data line to keep it HIGH for proper communication between sensor and NodeMCU. If you happen to have a breakout board of the sensor, you need not add any external pull-up. It comes with a built-in pull-up resistor.”
