
“An Arduino-based floppy drive emulator for the Atari 8 bit computers.
This small Arduino build emulates an Atari 1050 floppy drive to connect to an original Atari 8-bit computer. The program is compatible with most Arduino boards. And for boards based on the Atmega32u4 it also provides various log messages on the serial monitor to help debugging (mainly for my own use).
For a breadboard setup like my development device, you will need two push buttons, two 7-digit LEDs and one SDCard socket (with built-in or separate level shifters) and some wires and resistors. The connectivity is pretty standard and you will find the details as comments in the source code.
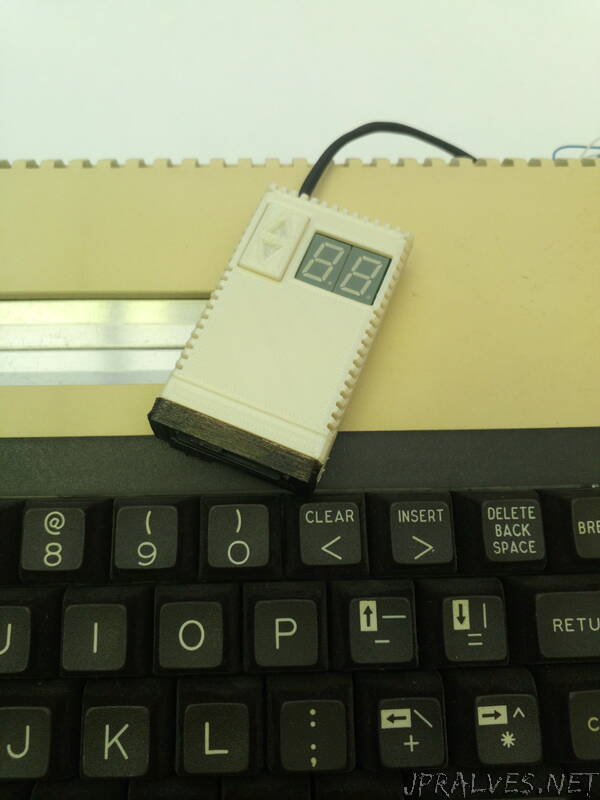
For a more polished product, I have designed a PCB that can fit into a 3D-printed case that resembles a tiny floppy drive with the SD card acting as a tiny floppy disk.
Emulated floppies on SDcard
The floppy drive emulator needs an SDcard containing .ats files for each individual floppy disk. Because there is no elaborated user-interface on the device, the naming and location of the files need to follow a fixed system: The files are searched for in a directory ATARI/ on the root of the SDcard. Every disk file must be named nn_Anything.ats with two leading digits that correspond to the numeric display on the device and the mandatory ‘‘ character. Alternatively you can also have a folder named nn_Anything with individual files inside. Such a folder will be emulated as an read-only enhanced density floppy containing these files._
Currently only a very basic support for single density (720 sectors) and enhanced density (1040 sectors) floppies is provided without special functions for any third-party devices.
User interface
You can switch though the numbered disks 00 to 99 with the two buttons. This is the maximum number of disks supported on a single SDcard. When you switch beyond 99, you will see — on the display, which means the device now emulates a switched off floppy drive. Selecting a number for which no diskfile exists will simulate a device with no floppy inserted (in this case you can create a diskfile with the DOS format functions).
You can also emulate a second floppy drive, which is very usable for example for holding the save disks for games that support this. To do so, you need to press both buttons to make the small indicator dot appear on the left LCD block. This means that the number you see in the display is the floppy that is inserted in drive 2. This floppy can now also be changed with the two buttons. It is even possible to select the same floppy in both drives at once (but this is probably of no great use).”