
“A simple puzzle game built around a JK-LKM1638 display, led and button module.
This is my build of a project called Puzzle using 7 keys and 7 LEDs by fellow Hackster Klausj. It is a simple puzzle where the objective is to light up 7 lights. What makes it into a puzzle is changing the state of one of the lights alters the state of the lights belonging to its immediate neighbors.
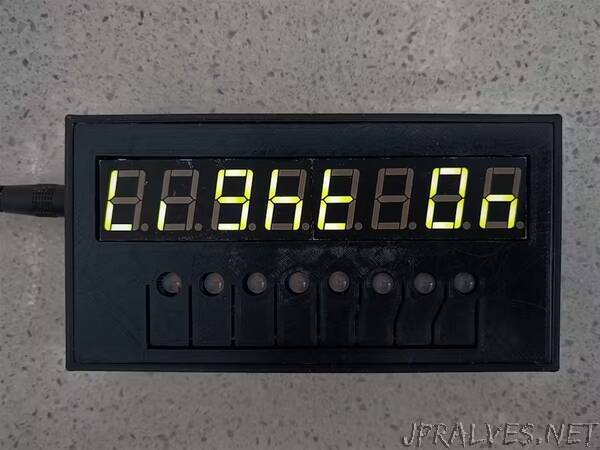
The build is centered around a TM1638 module. These come in various configurations.
This project is built for the version on the right (JY-LKM1638). It includes 8 7-segment displays, 8 red/green LEDs and 8 switches all controlled by a TM1638 driver chip. This chip communicates to the microprocessor over three lines.
Back in June 2018 rodmod made a nice case to hold this module. I have used his design as a basis for the 3D printed case for this project. The 3D printing of the case is straight forward. I used a 0.2mm layer height, 30% infill and no supports.
Preparing the JY-LKM1638 module
Before you can add the JY-LKM1638 to the case, it needs some modification first.
Remove IDC connectors. As the board cost far outweighs the cost of a couple of IDC headers, I suggest you remove the IDC headers by heating each pin’s solder and pulling out the pin one-by-one with pliers. Use a solder sucker to clean up the holes. Add a 5x2 right-angle pin-header to the back-side of the board as shown above.
Circuit design
The Arduino Uno has been replaced with a ATtiny1614 microprocessor. A 5V regulator is included so the unit can be powered by a standard 7V to 12V DC power supply. I also added a small piezoelectric buzzer to generate some sounds.”