
“I’ve used a Microsoft Natural Elite keyboard for years. And after almost 20 years of loyal service, it’s at the end of its lifespan. During my search for a replacement, I also looked at different mechanical keyboards. And because I regularly do DIY projects, I thought it would be a great experience to make such a keyboard myself.
This is my the first mechanical keyboard project. And this will be for daily usage. Although the possibilities are almost endless, I limit myself to the basic functionality: An ergonomic keyboard with mouse functions.
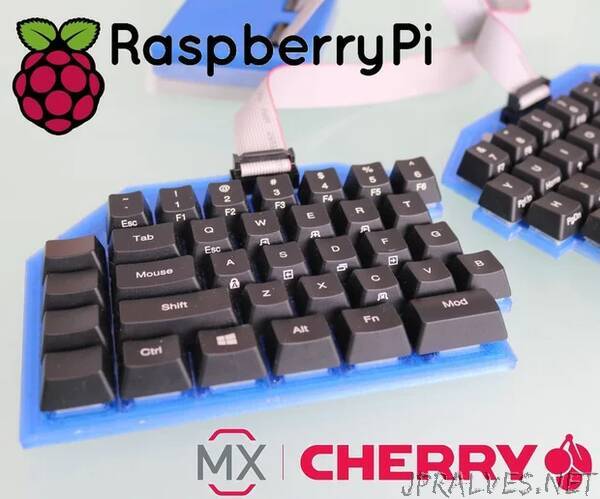
While searching for parts I came across a new type of switch. A low-profile version of the Cherry MX Red. This makes it possible to make a thin mechanical keyboard. And I tried to keep this keyboard as thin as possible.
The entire design was made with Autodesk Eagle and Fusion 360. Hereby I’ve used the possibility to load the printed circuit board direct into the 3D drawing program. In addition to these programs, Python code is used to support various steps. This Instructabe therefore contains many Python examples.
I didn’t add any ‘nice to have’ features which add complexibility. There are no background LEDs, additional usb ports, speakers and/or displays. There are some spare GPIO ports for additional features, but these aren’t used yet.
Supplies:
This keyboard contains the following parts:
Raspberry Pi Zero WH (Kiwi Electronics)
Cherry MX low profile Red (Cherry MX, Reichelt)
UHK keycaps (Ultimate Hacking Keyboard)
IDC 16 pin flatcable (Aliexpress)
DC3 2x8 Connector (Aliexpress)
40 pin GPIO connector (Kiwi Electronics)
Key Dampeners (Aliexpress)
Adhesive felt pad 200 x 150 (Action, Amazon)
1N4148 diodes (Aliexpress)
Custom PCBs (Jlcpcb)
DIN965 M2,5 x 5 bolts (Microschroeven)
DIN439 M2,5 nuts (Microschroeven)
The following software has been used:
Fusion 360 (Autodesk)
Eagle (Autodesk)
Raspbian (Raspberry Pi)
SSH client (Putty)
Text Editor (Ultraedit)”