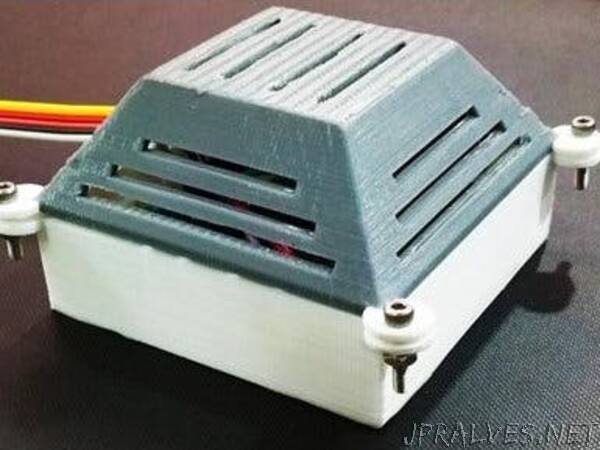
“A low cost air quality monitoring device created with an aim to detect pollution hotspots caused due to traffic jams or factory emissions.
Foreword
The journey of this project began during a ‘Design Thinking’ project with a motive to design a system for measurement of localized Air Quality data for detecting pollution hotspots and alerting commuters of the same. The idea was to deploy large number of low cost devices across a geographic location to get this data, analyze it and use it for traffic management and city planning. Although quite visionary and ambitious, this project received a lot of appreciation at various levels and fared well in various competitions, it couldn’t really move into the implementation phase. Lack of funds, expertise and less access to technology, hampered the progress of the project. However, I decided to publish this project (although fairly late - had developed this in 2018), as an attempt to inspire interested hacksters, to not just encourage learning but also hope for people to take it forward.
Hardware Overview
The hardware in the project is broadly divided into:
Sensors and their interfacing with Arduino Nano
Arduino Nano and NodeMCU interface
In this project, the Figaro TGS2600 checks for Methane and Carbon Monoxide, Figaro TGS2602 checks for Ammonia, Hydrogen Sulfide and Toluene while the less accurate and cheap MQ135 checks for Carbon Dioxide and NOx. Although a single sensor is used to detect multiple gases, it’s better to use a dedicated sensor for each gas, if you want better accuracy and reliability.
Arduino Nano and NodeMCU should cost less than about $15 in total and will do a great job for our basic requirement.
Sensors: Interfacing and Testing with Nano
Most low cost Gas Sensors available in the market are Electrochemical-type contact sensors. A sensing element is used to detect a certain gas. The sensor conductivity increases/decreases depending on gas concentration in the air. A simple electrical circuit can convert the change in conductivity to an output signal which corresponds to the gas concentration To model this, it’s extremely important to understand the datasheets and the Rs/Ro Vs PPM or the Sensitivity Characteristics.
Please head over to this blog written by Davide Gironi to get a clear understanding of how to model your software and hardware to get an accurate sensor data.
For TGS2600/TGS2602 Sensor interface with Arduino
The sensor requires two voltage inputs to detect the concentration of gas: Heater Voltage (VH) and Circuit Voltage (VC). This sensor has 4 terminals. Two are dedicated to heater which maintains optimum sensing temperature in the sensor and the other two are for measurement of Output Voltage across a load resistor (RL) which is connected in series with the sensor. DC voltage is required for the circuit voltage since the sensor has a polarity. A common power supply circuit can be used for both VC and VH to fulfill the sensor’s electrical requirements.
The value of the load resistor (RL) should be chosen to optimize the alarm threshold value, keeping power consumption (PS) of the semiconductor below a limit of 15mW. Power consumption (PS) will be highest when the value of Rs is equal to RL on exposure to gas (source: TGS2600 Datasheet).”
