
“Ever wanted to know the temperature of your house everywhere in the world ? Want to add a feature to your weather station, or monitor the air of your workshop ? Let’s have a look to this instructable !
This project is initially designed for internet of things (IoT) purposes. There is a Sensor Module measuring different ambient variables, this module sends its measurements through LoRa to a Gateway Module, which itself sends its data to the internet.
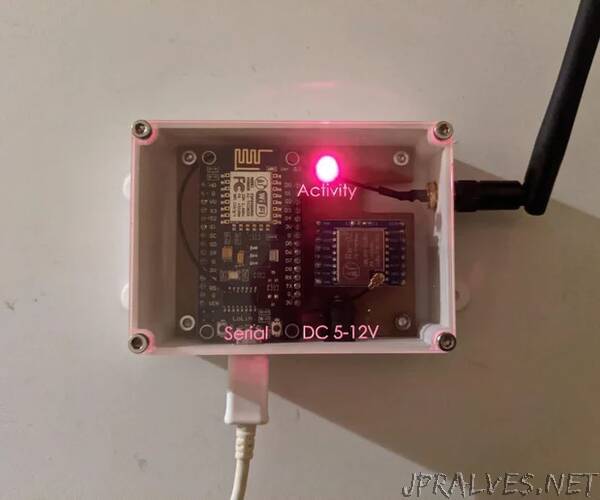
The modules are based on Arduino. the Sensor Module uses an Arduino UNO, and the gateway a NodeMCU, which embed an ESP8266 WiFi microcontroller. The WiFi is here used to connect the Gateway to the Internet, thanks to your home Router or a hotspot sharing !
Thanks to standardised protocols such as I2C or SPI, Arduino UNO, like other microcontroller is able to interact with several sensors and modules. It also has an analog to digital converter (ADC) which will be interesting to use in this project. Let’s use an air quality sensor, a thermometer, and a hygrometer.
The air quality sensor used here is a MQ-135 module. This nice thing is able to measure the density of different gaz in the air, such as alcohol, benzene, CO2, ammonia, azote oxyde or smoke. Beside this module, the DHT11 sensor will be used. It is able to measure temperature and humidity.
Finally, you will be able to create a Sensor Module, which read ambiant values, and make it available on an interface which can be accessed from your web browser.
All of the ressources used are available on my Git Repository. The code work was not entirely made by me, and the credits are given accordig to. I also worked in collaboration with Thodor, who helped me to make this instructable.
Disclaimer:This project was made for educational purposes. Even if the MQ-135 is able to measure the air quality, it is not as efficient as professional devices and cannot be used for security purposes.
Supplies:
Here is what you will need to perform this project.
Components :
An Arduino Uno. It will be needed for the Sensor Module
A NodeMCU Microcontroller board. It is based on an ESP8266 module, and can be programmed with Arduino
Two Ai-Thinker Ra-02 Lora Modules mounted with their sockets. One for the Sensor Module, and one for the Gateway. You can chose to take the “raw” module, but you then will need some skills in PCB making. The module used in this instructable can be found here
Two Antennas, one for the Sensor Module and one for the Gateway. It is needed for the Ra-02 to work, but BE CAREFUL to chose antennas adapted to the authorized frequency in your country ! The band allowed in Europe is in 433MHz. Such antennas can be found here
A MQ-135 based air quality sensor, used on the Sensor Module
A DHT11 temperature and humidity sensor, also used in the Sensor Module
A DC Jack connector, needed for the Gateway if you do not want to power it through USB
Two 5mm leds and their 1/4W resistances. If you’re not sure about the values to take for the resistances, just take 1kOhm.
If you want to realize the “long lasting” modules, with their casing:
8 M3, 5mm screws. 4 for the Sensor Module, 4 for the Gateway
8 M3, 10mm screws. Newly, 4 for the Sensor Module, 4 for the Gateway
Single layered FR4 for the Gateway. The dimensions must be at minimum 70x80mm
Two layered FR4 for the Sensor Module. The dimensions must be at minimum 60x70mm
Note:
If you want to make more than one Sensor Module (to measure the air quality at different places), you will need to buy as much components needed for Sensor Modules than modules you plan to make.
Tools:
A 3D printer, for the casing. The one used here is the Original Prusa MK3S, but any other 3D printer is suitable for this project. The material used is not really critical in this project, the one used here is white PLA
A CNC 3018 engraving machine, needed if you want to make the PCB. You may also need an engraving mill, as well as a 0.8mm, 1.0mm, 1.2mm and 3.0mm drills, and a diamond cut mill
A Laser cuter. It is optional, but gives nice results for casing ! We had the chance to use the Trotec Speedy 100
Note:
You do not have a 3D printer, a CNC or a laser cutter at hand ? That’s not a problem ! this project is mainly feasible with just the basic modules, some breadboards and jumpwires ! Just be careful when installing your prototype somewhere, as breadboarded project is not really suitable for long lasting operations…”