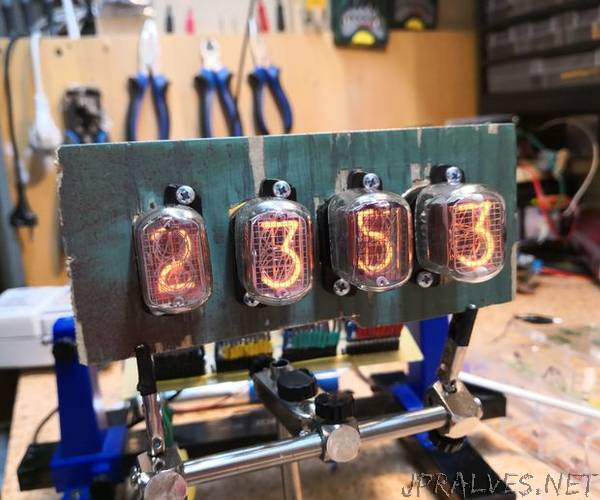
“It has been more than a year since I posted an instructable. I finished high school, got into college to study Electrical Engineering and now with my first year completed and much deserved holidays, I will write a few instructables from projects that I have been making over the year.
I know that Nixie clocks are overdone and projects making them are being covered to death. But with that in mind, I searched for kits, pcbs and anything to assemble one as when I found out about Nixie tubes, I ordered some. I had to make a power supply to make them work, so as impatient as I am, I couldnt order a kit from china. Then I needed to make the drivers for each Nixie and sooner or later I decided upon making a clock from scratch.
Note, this clock is not the most accurate clock on the world as it doesnt synch from internet, that can be an addition. So, if you want a good-looking Nixie clock, you are in the wrong place. But if you want to know how to make one from scratch, then keep on reading.
If you want to learn how everything works and understand and upgrade yourself, I urge you to read everything as this is the knowledge I acquired and am sharing it with everyone. Be sure to read on wiki or other sources if you want a more details. The point of this one is to also explain how every part works and how to figure that out with datasheets, so if you want to make this and modify and understand, make sure you read it all (I know it might be a lot).
Also note, that this Instructable isn’t step by step how to solder every component. I expect for readers and potential makers to know how to read a schematic along with pictures. It is not complicated and can be simply done on protoboard just like me. I also suggest you to build separate sections of this circuit, which are each individual step, like oscillator, HV power supply, digit drivers and the minute counter. You will learn about different parts better.”
