
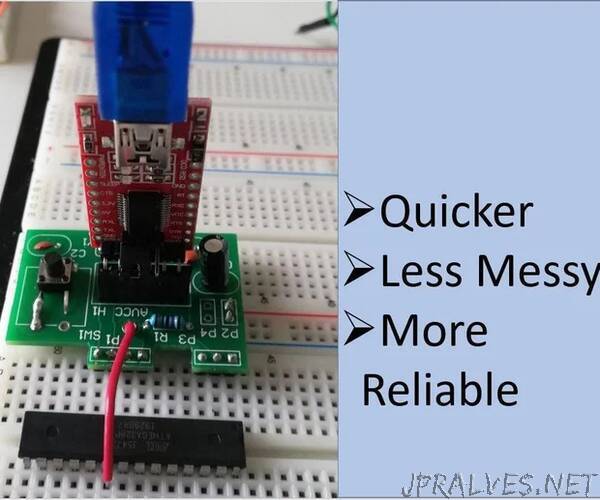
“There are many situations in which you want to replace an Arduino board for an Atmega328P chip, which is cheaper and more compact. However, using an Atmega328P can be inconvenient, since you need to wire up the power, UART, reset button and the 16 MHz crystal. This Instructables provides a quick and reliable solution using a PCB design. The PCB significantly reduces the number of messy jumper wires, and is specifically designed to fit onto the breadboard with a single push, allowing for convenient prototyping and experimentation. The image above summarizes the some of the features and benefits of the design.
You may think that you can prototype and simulate the Atmega328P with an Arduino Nano on the breadboard. Most times this is fine, but this is not completely accurate. For instance, Arduino Nano can supply 3.3V, when Atmega328P does not. The Nano uses a SMD Atmega328 instead of a through-hole one, so the pin out would be different.”