
“A small hand held computer with decent battery life and input power management.
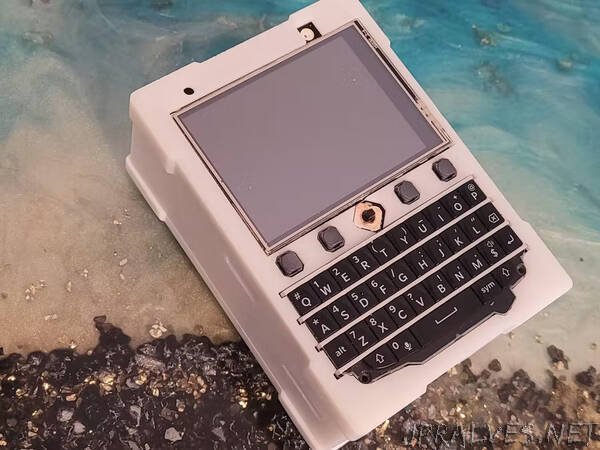
A small computer device which has a screen and keyboard. Sounds simple? You already have a phone, why even have this bulky box? For fun mostly. Most cyberdecks imo, are for fun devices. This one is no different, albeit much smaller than most cyberdecks you’ll find around, and hence the name.
Features
tinyDeck is essentially a console programmer. It has a decent sized screen and a nicely made keyboard driver (cough shameless pitch for the driver I wrote cough) on which one can try and reminisce of the era where once phone keyboards had actual, physical buttons. Though this one is powered by a Raspberry Pi Zero 2 W, and can be used to quickly connect to hardware devices (it exposes the I2C Qwiic connector), write code in Vim or nano or emacs for that matter. It can be powered from external devices or use internal batteries. With little work, it can also work to view the Raspbian GUI and look up images or connect to the internet even.
Why was this device made?A look in to its components.
As mentioned above, why even make a device which is a brick (I’m serious, look at this thing, it’s not the prettiest cyberdeck out there). It was mostly a learning exercise for me. It started with me fiddling with fbdev and fbtft with small embedded devices using Yocto and Buildroot. Once I was comfortable with that, an idea got stuck in my head, if a tiny screen, why not a tiny keyboard too, make a tiny computer. It was then when I came to know such unorthodox computers are called cyberdecks. I tried finding small keyboards, most of which were bluetooth and/or USB. Which is nice, you get far better features with those input devices. However, they were often wider, bigger, even bulkier for my taste. I found Solder Party’s Keyboard PMOD by chance, and started working on it. Turns out there was a rudimentary keyboard driver for it written by the creator. But I wanted more, a driver with which I could use Vim and write programs on the small screen I made use of. And thus, a large part of this project went in to writing my first Linux Device Driver. I shorted the SDA and VCC lines on that single keyboard pmod I was so graciously gifted, free of charge by the creator. Dun Dun Dun…
Without loosing heart (says the guy who ate an entire pizza to feel better), I bought a Keyboard Featherwing from the same creator (Check out Solder Party’s Website. Arturo182 is one of the best and friendliest creators out there, and there are some amazing new products coming out from their website). With this, I finished the driver for the keyboard. Next task was to get the LCD working. Luckily, juj’s fbcp-ili9341 project was of great help for this task. All it took was to match the raspberry Pi’s SPI0 CLK, MOSI, CS, and DC lines matched with that on the Keyboard FeatherWing. This worked in under a day. Here’s a video of me watching Youtube Streamer’s God of War live play through on the screen.
For the above two steps, this is the hardware connections I used (Also mentioned on Keyboard Driver’s README.MD). If you do not wish to use the PCB, you can use these connections. The pins for the LCD_DC pin and the Keyboard Interrupt pins are changeable, just make sure to use the correct BCM PIN numbers in the LCD cmake and dts file of the keyboard.”