
“This is a how-to guide on how to create your own speakers from mycelium using 3D printed molds. Deviations of this project are encouraged!
This guide will give you a step-by-step process on how to create your own mycelium speakers. Skills needed for this project include soldering, 3D printing, and mycelium growing. This project takes roughly 10 days to complete given the amount of time needed for the mycelium to grow. This project is graded at moderate difficulty.
Mycelium is “the vegetative part of a fungus, consisting of a network of fine white filaments (hyphae)”. These structures can be placed into a mold to form a variety of shapes. Mycelium is in a variety of uses, from packaging material to fashion accessories. The list of uses for this material has a knack to grow!
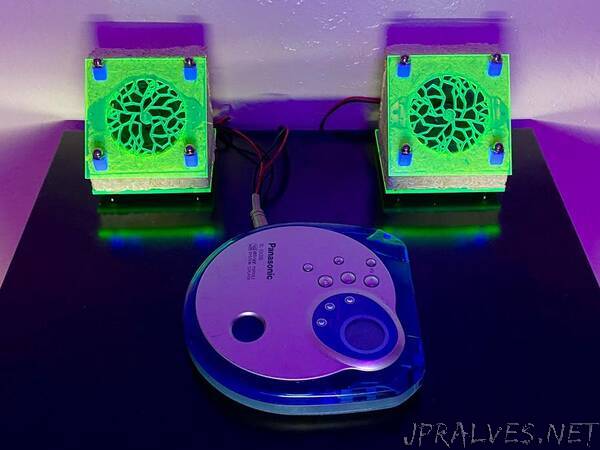
Author’s Note: My goal with this guide is to give folks a starting point when it comes to creating their own mycelium-speakers. I will note where possible deviations can be made. Feel free to share your creations with me! The speakers created in this guide are “passive”, meaning that additional audio amplification may be needed.
The steps for the mycelium growth are based on the grow instructions by Ecovative for their Grow-It-Yourself Mushroom mix bag (link). If you are using a different supplier for your mycelium, please follow their instructions for growing their mycelium mix bag.
Supplies
Tools:
Hot glue gun
Dremel with a metal cutting wheel attachment
Soldering iron
3D printer _
_Laser cutter
_Oven
Mixing bowl
Baking Sheet
Hobby knife
_ It is possible to skip the 3D printing steps if you plan to make your mold using household materials, such as milk cartons or plastic bottles, and hot glue. Be sure to include the holes for the speaker, wire, and mounting components, as well as a way to remove the mold from the mycelium.
** The parts that use the laser cutting process can alternatively be created using a 3D printer or by hand.”