
“In this project you will learn how to implement a RISC-V processor in a SmartFusion2 SoC.
Everybody knows that the processor of the moment is the RISC-V, even it is not a processor itself, the amount of the boards based on RISC-V is growing more and more. To understand the reason of that, we have to understand what is RISC-V, and what makes it different to Arm® or x86. First of all, we have to know that RISC-V is not a processor, like Arm or x86, they are an Instruction Set Architecture (ISA), In particular, it is an Open Instruction Set Architecture, and the open word makes the big difference between RISC-V and Arm or x86. I will explain it with an example, if I am an ASIC designer, and I want to integrate on my design a processor, I have two options, the first one and the most common until now was pay to Arm Limited, the owner of the Arm Architecture, to let me design a processor that uses their architecture, and be compliant with their instruction set. This will make my design arrive to a big number of developers that have their design compliant with the Arm architecture. The second option you have is design a RISC-V compliant processor. In this case, as the architecture is open, so you don’t have to pay to design a compliant processor. As all open-source projects, the community supporting this architecture is growing continuously, as well as the companies that are involved in the development. One of these companies is Microchip.
As we saw with the Arm Cortex®-M1 or recently with the Arm Cortex-M3, there are also available a big number of soft-cores based on RISC-V architecture to be implemented on FPGA. On this post we are going to develop a RISC-V based example design using the core available for the Microchip FPGAs, the Mi-V core.
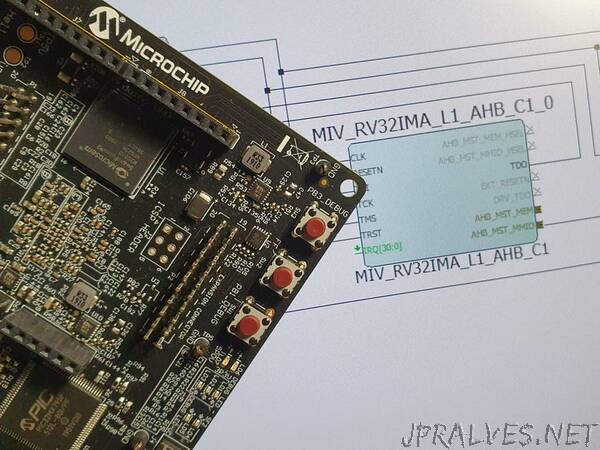
Microchip offer several cores based on RISC-V architecture. For this project we will use the latest core developed, MiV_RV32, that is the lightest, so we will be able to make the design in Hello FPGA Kit, and has available both APB3 and AHB interfaces, that is very useful to connect the eNVM and some peripherals.”