“The following Dynamic Arduino LCD menu is easy to use, easy to edit, expand. You can add as many menu items as you want. Just enter the menu items, write the corresponding function and you’re done. All this at the beginning of the arduino sketch, you don’t have to search the code for where to paste the code snippets. It can be a good solution for both beginners and advanced users if you need to create an LCD menu quickly.
Proper external power is highly recommended, the USB port power is low to power the LCD display and the Arduino UNO. You can also use other boards, such as: Arduino Nano, Mini, Leonardo, Mega, or ESP 8266, ESP32, whichever suits you.
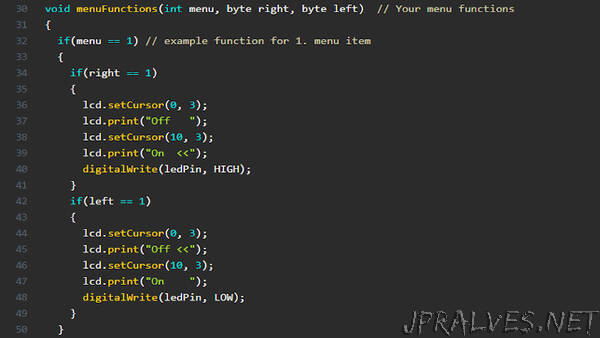
It is very easy to use. In the MenuItems [] String array, enter the names of the menu items, and then type the function for the menu item in an if () statement in the menuFunctions () function. the condition for if () must be the serial number of the menu item. That’s it, you can use the dynamic arduino menu.
I have written a few examples in the arduino sketch, you can delete or rewrite them, I just intended them as guidelines for easier understanding.
For some reason, the lcd.clear () function did not work on one of my 4 x 20 character LCDs, using the lcd.noBacklight () function solved the problem. This lcd module has the PCF8574A expander IC with an I2C address of “0x3F”. The other 4 x 20 character LCD display is connected to the I2C bus via PCF8574 IC, address of “0x27”. This is the second worked perfectly.
The first example was for a 4 x 20 character LCD display.”
