
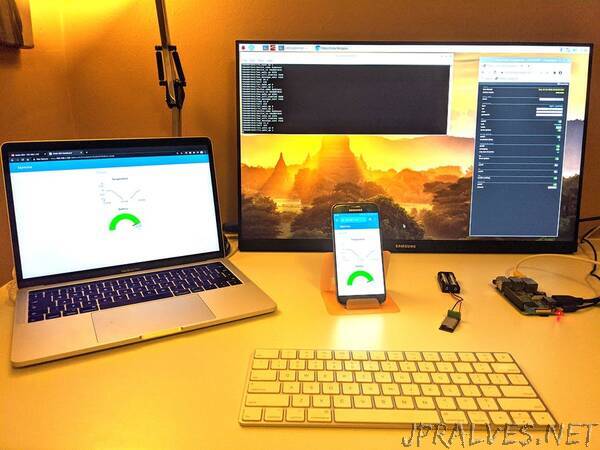
“Make in minutes a battery powered WiFi temperature sensor with GUI dashboard in Node-RED on Raspberry Pi!
In this project we show how to build battery powered WiFi sensors (i.e. temperature), buttons or any other IOT end nodes with Cricket and integrate them, without writing any code or programming to Node-RED. We use Raspberry Pi to host Node-RED in our local network.
This project can be realised by makers at all skill levels. It may require some basic soldering however it doesn’t require any coding or programming. In the end of this project you will get a solid idea how you can easily build your own system and quickly extend by adding your own IOT end nodes to the system.
Our system is going to be based on MQTT communication protocol, which is hugely adopted in most home automation systems. We use Mosquitto MQTT broker and if you do not have it yet we recommend to follow our simple RPi + MQTT project showing how to set it up first.
Prerequisites
- Raspberry Pi (we used ver. 3 for this project)
- IOT Cricket WiFi module
- 2xAAA battery holder
- 2xAAA batteries
What is Node-RED?
It is a very easy, event-driven tool for setting up your own automation system.
You may also find more formal and precise Node-RED definition on their website: “Node-RED is a programming tool for wiring together hardware devices, APIs and online services in new and interesting ways. It provides a browser-based editor that makes it easy to wire together flows using the wide range of nodes in the palette that can be deployed to its runtime in a single-click.” (ref. nodered.org)
The best way to learn about it, is obviously by doing it by ourselves. There are plenty of resources available on the internet. However this project is sufficient to provide you a basic introduction how get started and integrate your devices built with WiFi Cricket module to your system.”