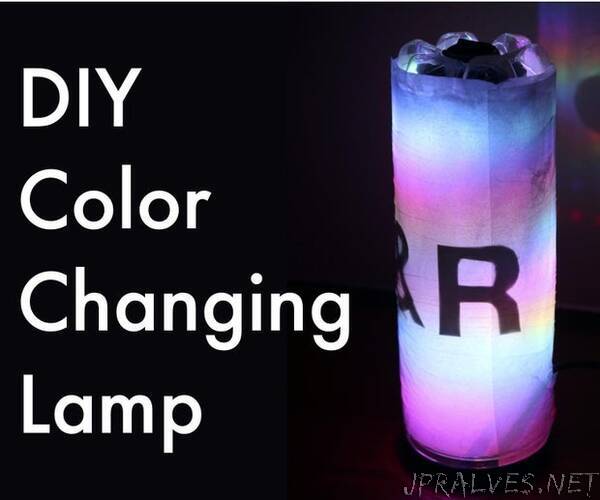
“In this project, I will be walking you through the process of creating a lamp with the Arduino nano and an LED strip. Before starting it’s important to know that there is a lot of flexibility as to what features you want in your lamp and what features you don’t (I will explain the different options you can make than differ from my own further into the tutorial).
Safety considerations - This tutorial involves using a soldering iron. Please ensure you are following proper safety precautions (e.g safety glasses, proper ventilation, organized work environment).
Supplies:Components
- Arduino Nano
- 1 xRocker Switch
- Jumper wires
- Breadboard (optional)
- Perfboard (it should be able to fit inside the inner case of the lamp (the toilet rolls)
- A WS2812B Led Strip around two meters long (106 LEDs) (others can be used but the code will have to be adjusted for them).
- A USB to Mini-B USB cord (it has to be long enough to circumvent the tennis ball tube and extra in order to reach a power source.
- 1 x 10k resistor
Materials
I know it can be hard to find the right body for your project which is why I made the body of my lamp out of everyday use materials
- 1 x Tennis ball can (the plastic on the outside should be removable)
- 2 x Cardboard toilet paper rolls
- 1 x Baking sheet
- Plastic wrap (optional)
Tools
- Soldering iron
- Glue (or tape)”
