
“Thermistors are simple, inexpensive, and accurate components that make it easy to get temperature data for your projects.
Thermistors are variable resistors that change their resistance with temperature. They are classified by the way their resistance responds to temperature changes. In Negative Temperature Coefficient (NTC) thermistors, resistance decreases with an increase in temperature. In Positive Temperature Coefficient (PTC) thermistors, resistance increases with an increase in temperature.
NTC thermistors are the most common, and that’s the type we’ll be using in this tutorial. NTC thermistors are made from a semiconducting material (such as a metal oxide or ceramic) that’s been heated and compressed to form a temperature sensitive conducting material.
The conducting material contains charge carriers that allow current to flow through it. High temperatures cause the semiconducting material to release more charge carriers. In NTC thermistors made from ferric oxide, electrons are the charge carriers. In nickel oxide NTC thermistors, the charge carriers are electron holes.
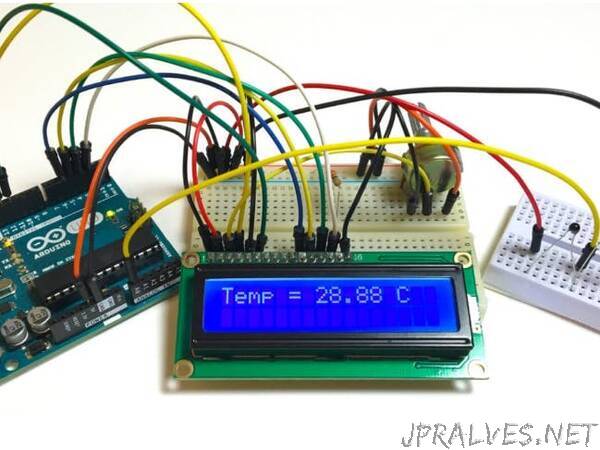
Let’s build a basic thermistor circuit to see how it works, so you can apply it to other projects later.
Since the thermistor is a variable resistor, we’ll need to measure the resistance before we can calculate the temperature. However, the Arduino can’t measure resistance directly, it can only measure voltage.”