
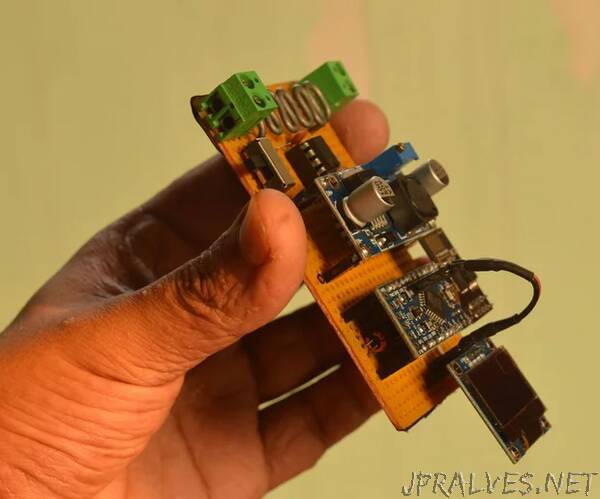
“Hello everyone, I hope you all are great! In this instructable I am going to show you how I made an IoT Power Measurement module that calculates the amount of power generated by my solar panels, that is being utilized by my solar charge controller to charge my lead acid battery pack. This module goes in between the solar panels and the charge controller and gives you all the necessary parameter details on your phone via the Internet. For the IoT platform I have used Blynk, which is very easy to use and can be easily customized as per your project. The limitation of the existing charge controller was that it only gave me the charging voltage and therefore the amount of power could not be determined. In this project I have added the voltage and current measurement functions to the power module which can be used to calculate power(in watts) and thus the total energy harvested. One can easily use this power module in other DC power measurement applications. This is going to be a fairly long instructable so lets get started!
Supplies:
- Arduino Pro Mini / Nano or equivalent
- LM2596 buck converter module
- 7805 voltage regulator
- AMS1117 3.3V regulator
- ESP8266-01 WiFi module
- OLED Display
- LM358 dual OP-Amp
- 100K,10K,2.2k and 1K resistors(1/4 watt)
- 0.1uF ceramic disc capacitors
- 22uF electrolytic capacitor
- Screw Terminals
- Male and female berg strip
- ON-OFF switch
- Perf board or veroboard
- Soldering equipments”