
“Previously we have made a few robots using Arduino and ESP boards. If you remember it takes a lot of components along side the microcontroller itself to make a robot. There are Motor Drivers, Servo Controllers and voltage regulators. To connect all these components we need breadboard or Perf board to solder everything together. This may take a considerable amount of time and makes a mess with wires. This makes it hard for people dbug the connections if something goes wrong. Moreover it demotivates beginners.
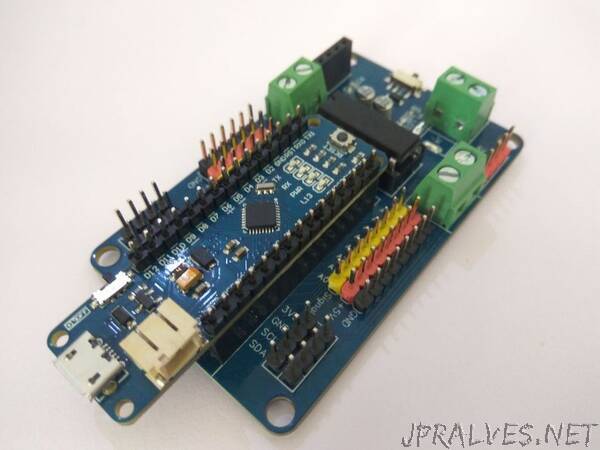
To avoid this problem, Robot Controllers are used. These are compact boards with most of the important components and Pins one will need to make a robot. There are many Robot controllers on the market but the one we are going to use here is a little different, a little special. This particular board is called “Nano Robot Controller”
it is designed by me and manufactured by Bpi factory.
In this instructable we shall see what a robot controller is, what is it used for and how to get started with the Nano Robot controller. So without any further ado, let’s begin.
Supplies:
Here is a list of all the things we will need for this instructable.
Arduino Nano or Bpi Nano (Amazon Link)
Nano Robot Board. (Only available at AliExpress as of now)
2WD Robot chassis. (Amazon Link)
Although I have used here the chassis of KeyBot (more about KeyBot here). You can also build a chassis yourself, here is an ebook that will tech you in details: Mini WiFi Robot”