
“This project came about after my beloved laptop’s optical drive started to misbehave. The CD tray would repeatedly pop out whenever I gave my laptop a push or moved it about in any way. My diagnosis of the problem was that there must have been some loose connection which was tripping the eject switch whenever it was moved about. This became more and more irritating and finally, I decided to do something about it. I had only once used the optical drive in the 2 years of having my laptop so I thought I could probably do without it altogether.
Removing the tray meant I had a large hole in the side of my computer so I needed to fill it with something. I had seen that you could buy bays that you can slot a second hard drive into for your laptop. I didn’t really have the need for that so instead, I went about designing and 3D printing a replacement blank part with the same dimensions as the original dive, with a space that I could fit passport sized notebook that I kept all my project ideas in. This was a fun little project and conversation starter and worked perfectly. It got me thinking though, that you could probably fit other things into this new found real estate inside my laptop. I thought about what I could put in there instead and realised I could embed a Raspberry Pi inside my computer that I could use for projects on the go and more programmable IO for my computer. As this idea evolved I came up with the idea of powering the Pi form the power provided by the laptop to run the optical drive and connecting to the Pi from my laptop using VNC. This meant that I could access my Raspberry Pi’s desktop anywhere without needing all the peripherals that go with it. This Is a bit like the pi-top however, here I am still able to use my laptop as it was originally intended except for the lack of cd drive.
In this Instructable I’ll go through how I went about building this project and the problems I encountered and overcame. It won’t really be a traditional instructable where I go through every step that should be followed religiously because I think that it is quite niche, as very few people nowadays have removable optical drive bays in their laptop. Instead in this Instructable, I hope to show how I overcame different design problems so that no-one else has to when working on similar projects.
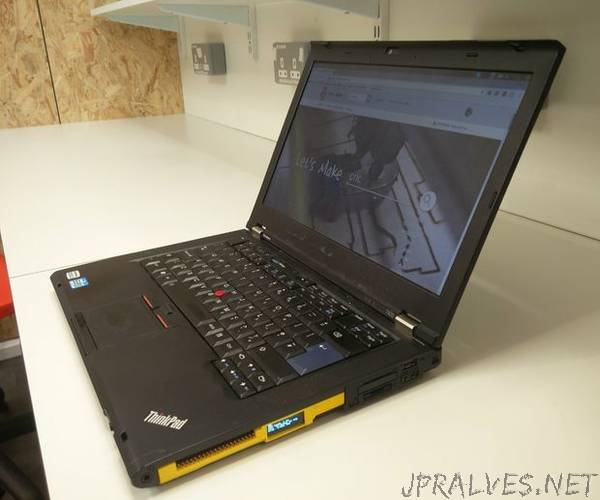
I will provide links to parts and all the 3D files I used, so if anyone does have the exact same laptop (Lenovo ThinkPad T420) or compatible that they can build the project too. If at any specifics are unclear please feel free to comment, and I will happily help out.”