
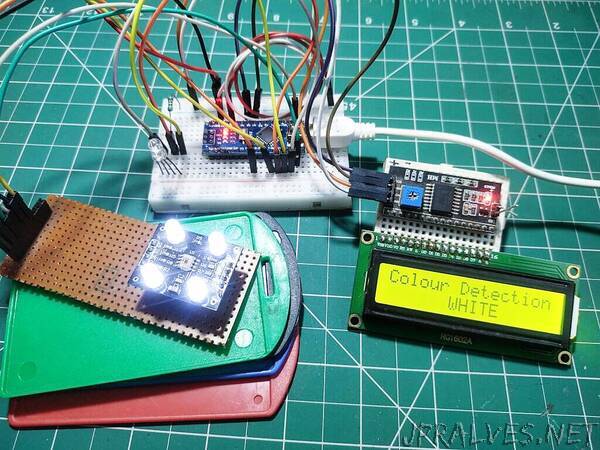
“Hello there, do you want to make your own Color Detector Using Arduino and TCS 230 Color Sensor. If so, you have come to the right destination. In this article, we will learn how the TCS 230 Color Sensor works with Arduino. In this project, we use TCS 230 sensor to detect the color and a 16X2 LCD to display the name of the color. We use five LEDs of different colors so the LED of the detected color will glow automatically. You can also use an I2C module for interfacing the LCD with Arduino. If you are new to this field and want to make such cool Arduino projects then click here. Arduino is a microcontroller that uses ATmega 328p ic for its functioning. There are many variants of Arduino available in the market but we use Arduino UNO in this project.
How Does it Work?
In this project, we use TCS 230 Color Sensor for differentiating between various colors. If you are not familiar with the color sensor please go through the working of the TCS 230 color sensor with Arduino. When we put the specific color tag over the color sensor then it detects its color and the results can be seen on the LCD screen. For interfacing LCD with Arduino, you can use an I2C module. The name of the captured color is displayed on the LCD. We use LEDs of five different colors like Red, White, Green, Yellow, and Blue so that only that LED will glow whose color is the same as the captured color. Make the connections as given below and upload the Arduino code. In this way, the project works and displays the captured results at the same time on LCD.
Components Required
- Arduino UNO
- USB Cable for Uploading the Arduino Code
- 10 K potentiometer
- 2X16 LCD
- Breadboard
- Jumper Wires
- TCS 230 Color Sensor
- Resistors of 220-ohm
- LED of Red, Blue, Green, White, and Yellow”