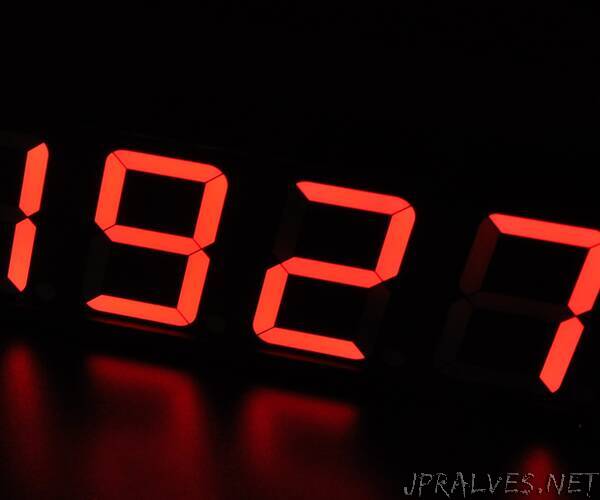
“This project originated from a request of a friend. He asked me to build a so-called smile counter for their college dorm - a segmented display which can show a number. This number must increment every time someone pushed a button and should be memorized even if power goes out. The counter was counting smiles: every time a tenant would pass it by and was in a good mood, happy, smiling or anything in between, they would hit the button.
In order to have a processing unit as simple as it can get (and to consume a few of the salvaged ICs I had, and still have on stock), I decided to build this using counters, decoders and buffers - at least on digit level. The main controller is an Arduino Nano I also had on stock.
The enclosure was made from a wood “L” profile and ABS corners designed and printed for this very project, it turned out quite nice - I might end up using more of this enclosure concept in the future. The back was a piece of ESD material i salvaged from an ESD box.
So I sat down and thought about what I needed to build this:
A large display, visible from a couple of meters away (SA40-18SRWA)
A low-side driver to switch the segments of the display (ULN2003A)
A decade counter chip with 7 segment decoded outputs (CD4026BE)
Five printed circuit boards for the five displays
Discrete components like resistors, capacitors, transistors
Main controller unit in the shape of an Arduino
Hand tools, soldering equipment, benchtop instruments
Most of these were taken from my personal component stock, but I added links should anyone need them. Since I am based in Europe, I order most of the stuff from this polish website: www.tme.com
Even though I used to work with a certain PCB manufacturer until now, for this and for my upcoming projects I will stick with this new manufacturer I found thanks to instructables: NextPCB. I will say more about the boards at the corresponding step.
As for equipment, there has been quite an upgrade from the last time I shared an instructable, I moved and now have a much bigger “office”, considerably more equipment and - most important - a lot more desk space for the equipment, books, tools, PCs and other stuff I use for creating stuff. I might share a couple images of this new place I put together in an upcoming instructable.
All those listed above wouldn’t mean anything, were it not for the most important component: time. When thinking of the limited time I had, I must say that this project came around quite quickly. It took me around 50 hours to build this thing, write the code plus a bit more to to take pictures and to write the descriptions.”
