
“I love side projects. They give me the opportunity to flex my creative muscles and tinker with tech like the Internet of Things (IoT) in new ways. Fortunately, I didn’t have to look far for my next one; a common conundrum for pet owners fueled this concept for an IoT dog collar.
My dog had been out in the backyard for a while. When I decided it was time to bring him back into the house, I couldn’t find him anywhere! After several minutes of searching and calling his name, I found him napping in the shade of a tree. If this scenario sounds all too familiar to you, then this post is for you!
In this tutorial, I’ll show you how to set up the hardware you’ll need to construct an IoT dog collar. We’ll also walk through how to build the front-end and back-end web app that you can use to call and locate your pet. We’ll use an Arduino Uno, the Johnny-Five JavaScript Robotics & IoT Platform, Heroku, and a few other components. By the end, you’ll be much more comfortable using your JavaScript skills with hardware. And hopefully, you’ll have a ton of fun along the way! Ready to begin? Let’s go!
The Hardware You’ll Need
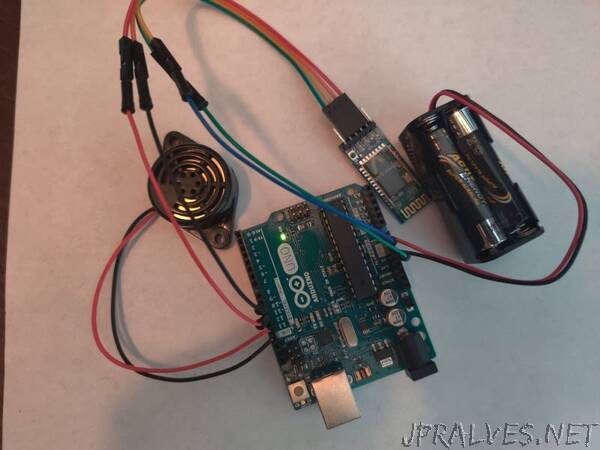
Here’s a list of the hardware and resources you’ll use to build your IoT dog collar:
Arduino Uno ($21)
Piezo-buzzer ($9)
Wireless communicator ($10)
Power supply ($6)
Breadboard and wires (optional: $9)
Heroku hobby dyno ($0)
Casing (anything that can hold the electronics and fit on a dog collar)”