
“Using Raspberry Pi 4 to drive MLX90640 IR Thermal Camera var I2C interface in order to detect calorific objects.
Story
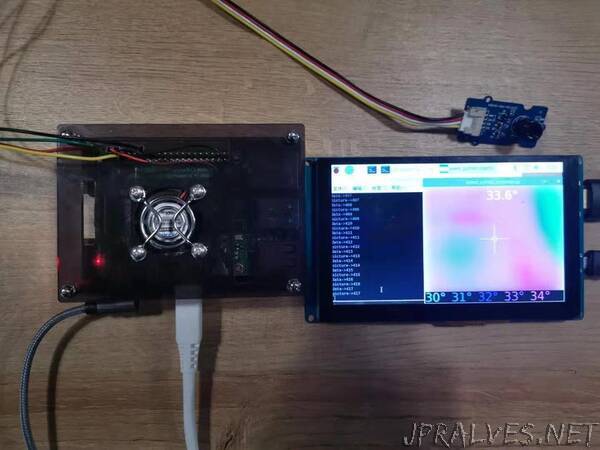
Want to detect something that can emit heat and figure out their temperatures? The MLX90640 IR thermal camera can display the relative temperature and shape of the objects as long as you put them in front of the IR thermal camera. IR thermal camera connects with Raspberry Pi 4 var I2C interface, after reading the data from the camera, raspberry pi 4 would process these data and convert them to numbers of pixels and finally displayed as a thermal image on the Raspberry Pi display.
Hardware
Here is the 40 pin schematic of the Raspberry Pi, you can easily find I2C interface SCL and SDA. The IR thermal camera has an I2C Grove interface, so a transform wire is needed from Grove to jump wire. At last, The IR thermal camera is correctly connected with the corresponding pins of the Raspberry Pi.
The next step is simple, a 5’’ Raspberry Pi display needs to be connected with Raspberry Pi 4 var micro HDMI wire. And Raspberry Pi 4 needs to be powered by a5V/3A power adapter by the USB Type-C interface. Keyboard and mouse are optional depending on your requirements. From now on, an IR thermal camera project’s hardware has already been set up.
Software
The software contains two parts, one for data reading and the other for data processing. So here come two python codes to realize both of the functions.”