
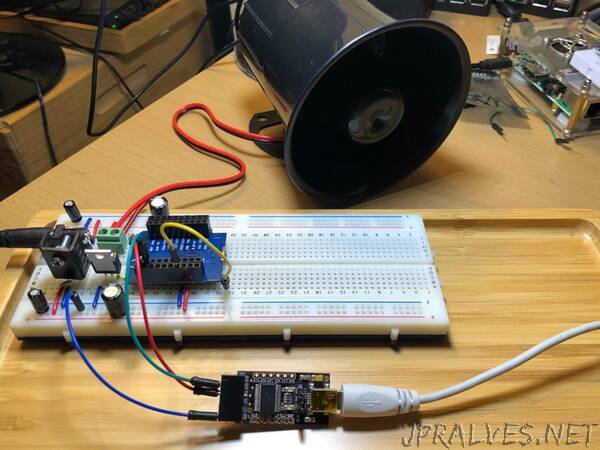
“My home automation system needed a loud alarm signal when either “panic” or “fire” was declared by my family. A 12 volt siren was perfect.
Story
I’ve been building a home automation system for several years. Today, Internet of Thing devices measure the environment in four locations, track movement of people (and cats) throughout the house, turn appliances on and off, integrates with Alexa voice commands, incorporate digital clocks for visual messages, use MQTT messages between devices and Adafruit.io for data analysis.
Several IoT devices have piezo buzzers for alarm notification but they were not very loud. A couple of years ago I published an example of one called “Harry’s Horn.” It was fun and worked but it did not really have the decibels an alarm needed. After a little research I settled on a 12 volt siren. This project I call diysiren is the first phase prototype on both a breadboard and protoboard. All the code is production ready.
Brief Overview
My do it yourself (DIY) home automation system is built on a variety of Raspberry Pi servers and a few Espressif boards. An open source MQTT message broker and bridge coordinates all of the data and command transfers (subscriber/publisher model). All of the Raspberry Pi code is written in Python3 with the latest Raspbian build.
I use the Mosquitto open source MQTT server and I’ve found it to be easy to use and very reliable.The diysiren application subscribes to three topics:
diy/system/panic - loud oscillating siren
diy/system/fire - loud continuous siren
diy/system/who - device status update (in construction)
The application waits for one of these messages and uses a NPN MOSFET switch to provide power to the 12 volt siren.
Construction in Phases
My first step was to build the application on a breadboard. I solder my ESP32 Wemos boards upside down to better view the pin numbers. I also use long male/female headers for the inside pins and female headers for the outer pins.”