
“Home automation refers to the ability of your home to make its own decisions depending on environment conditions and give you the option to control it from a remote location. In one of our previous tutorial on the ESP8266 WiFi Module, we examined how NodeMCU or any of the other ESP8266 based boards can be used to build a web server through which all the GPIOs of the board can be controlled over WiFi. Today, we are going to put that web server in use and control home appliances with it.
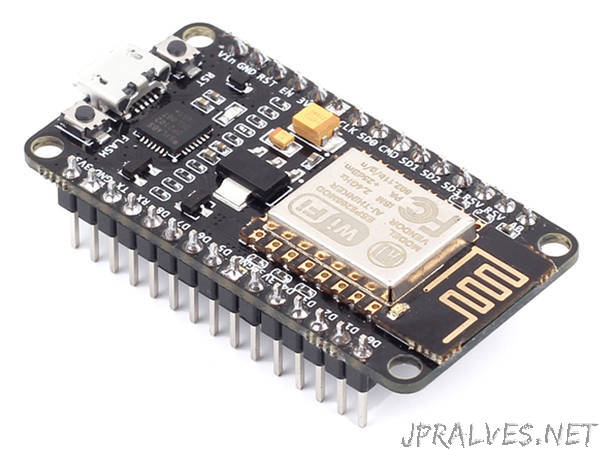
The heart of today’s project is the WiFi enabled board that needs no introduction; the ESP8266 based NodeMCU development board. It is an open source platform for developing WiFi based embedded systems and it is based on the popular ESP8266 WiFi Module, running the Lua based NodeMCU firmware. NodeMCU was born out of the desire to overcome the limitations associated with the first versions of the ESP8266 module which was not compatible with breadboards, it was difficult to power and even more difficult to program. The NodeMCU board is easy to use, low cost and that quickly endeared it to the heart of makers and it is one of the most popular boards today.For today’s tutorial, we will add a 2-channel relay module to the ESP8266 board. The project flow involves the control of NodeMCU’s GPIOs from a webpage on any device connected on the same network as the board. The status of the GPIOs control the coils of the relays and that causes the relay to alternate between normally open (NO) and normally closed (NC) condition depending on the state of the GPIO, thus, effectively turning the connected appliance “ON” or “OFF”.”