
“After 10 years, my store-bought digital picture frame failed. I looked for a replacement on-line, and found that a comparable replacement actually cost more than my 10 year old frame. I figured they’d be practically free by now. Obviously I could’ve just bought a new one, but I figured that’s exactly what the man wants me to do! Instead, I could spend a ridiculous amount of time building my own - but also having some fun and learning something along the way. I’ve been playing with Arduinos for years, and have wanted a good project for the Raspberry Pi, and this seemed like the perfect one. So I did the normal Googling and found that there were a bunch of options for making a digital picture frame based on the Raspberry Pi. Unfortunately, most of them were really not quite what I wanted. In some cases you have to buy software that others wrote, and I kind of didn’t want to do that. In the end I found this excellent instructable and based my project on it https://www.instructables.com/id/Easy-Raspberry-Pi…
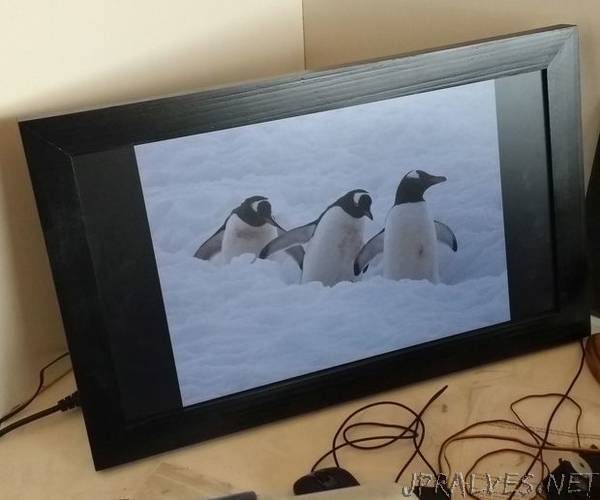
I wanted a simple digital frame that would simply run through the images on a USB thumb drive. I don’t want or need to control it from 1000 miles away, don’t need to email it pictures, etc. I’ll just put my pics on the thumb drive and it should display them. And that’s basically what the above instructable offers - without any proprietary software etc.I did however want a few minor things that aren’t covered in that instructable. I wanted to configure it so the screen would not blank out after a set interval. I wanted a way to safely turn it on and off without a keyboard and mouse (just pulling the power on a Raspberry Pi can corrupt the operating system). With a disturbing amount of research I found out how to do it. It’s actually quite easy - I just had to figure out why the various approaches weren’t working for me. I also wanted it to autostart so that when it powers up it goes directly into the slideshow without any action from me (again - no keyboard and mouse). And finally, I wanted to be able to control it manually when desired. Basically I wanted to simply be able to step forward and back, and be able to pause on an image. I planned to use three buttons for that hooked up to the GPIO pins. Ultimately I ended up configuring a mouse to do those controls. So I ended up with a mouse after all, but it doesn’t need one. Without the mouse it just does its own thing.”