
“One year ago I built a simple Arduino dice with my son. We have learned a lot in the meantime and it’s time for an update…
Story
About a year ago my son and I built an electronic dice with an Arduino and a few LEDs. This is still an ideal project for beginners. We have learned a lot this year, so it’s high time for an update.
The dice is still a perfect starter project. The function is clear to everyone and it is easy to understand the different areas: microcontroller, simple electronics and coding.
Version 2.0
The dice is also fantastic, to go one step further: linking other areas.
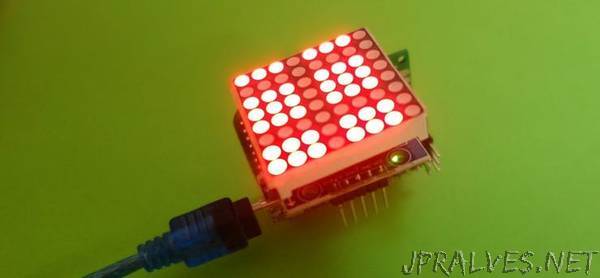
Today there is a ready-built component for almost everything. This is best seen when looking for a starter kit for an Arduino or Raspberry Pi. Components such as LEDs, pushbuttons and any type of sensor are built on a circuit board and can thus be connected and used with just a few wires to GPIOs.
Simple, but sufficient, 3D printers are available on ebay for less than 140 €. Almost all bracket, mounting or casing variations can be created with it.
There are a number of more opportunities to develop your own projects. An example of this is our new dice 2.0.
Tilt Sensors
We implement the dice in a completely different way. Inside, an Arduino Nano is working for space reasons. There is still an on-off switch, but no button. The dicing is done by shaking the whole cube.
For this purpose, tilt sensors or vibration sensors are used. They work just like a button. In a glass tube, a ball moves. If it hits the connection contacts, the circuit is closed. This contact, sometimes very short, is used for a signal.
The movement of the metal ball can be heard quite well if you shake the sensor.”