
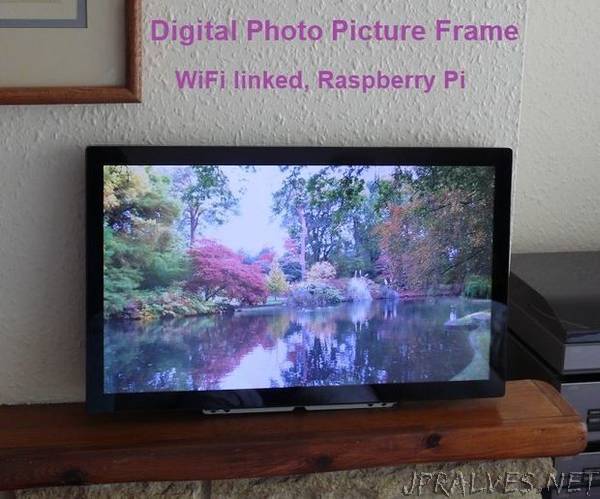
“This is a very easy and low cost route to a digital photo frame – with the advantage of adding /removing photos over WiFi via ‘click and drag’ using a (free) file transfer program. It can be powered by the tiny £4.50 Pi Zero. You can also transfer photos direct from a mobile phone (e.g. via ES File Explorer on Android).
This can be a standalone digital picture frame or can be the screensaver for a Pi based system (doing something else) and show pictures when it is not being used. For example, this could be the screensaver for a Pi based media controller or for an interface to my Pi based music and radio player.
For simplicity and size I have used a Pi Zero here but any of the Pi’s should work. I could have used a ZeroW (WiFi) but for the same cost one can get a Zero plus a 2 port USB hub and use a WiFi dongle to optimise the aerial location.
There is a huge choice for monitors:
Waveshare do very good monitors for the Pi, including ones with touch screens. A touch screen is not a requirement here but might be useful when this is the screensaver for another application. A downside of these is that the connectors plug into the side – that looks untidy or requires a wide frame to hide.
Most PC monitors will work. Used ones are available at low cost on ebay. Even new ones are pretty good value. If they don’t have a HDMI input they are very likely to have DVI that can be used via an adaptor or HDMI to DVI lead. I picked up a good condition 22” IPS, full HD (1920x1080) Iiyama touch screen monitor for under £80 delivered.
Lastly there is the option of re-purposing the screen from a dead laptop. See: instructable This has the big plus of being thin and being able to fit into a real picture frame.
All the software/firmware required is free.
The instructions here should allow a novice (or more experienced) to get this running from scratch.
Parts needed:
Pi (any)
SD card(suggest 8GB or greater)
USB hub
Wifi Dongle
Monitor and leads
Mouse (for setup)
Steps:
Install Pi firmware
Attach/install monitor
Add some photos/pictures
Set up the screensaver
Text in bold italics has to be entered during the setup and can in most cases be copied and pasted – that saves a load of time.”