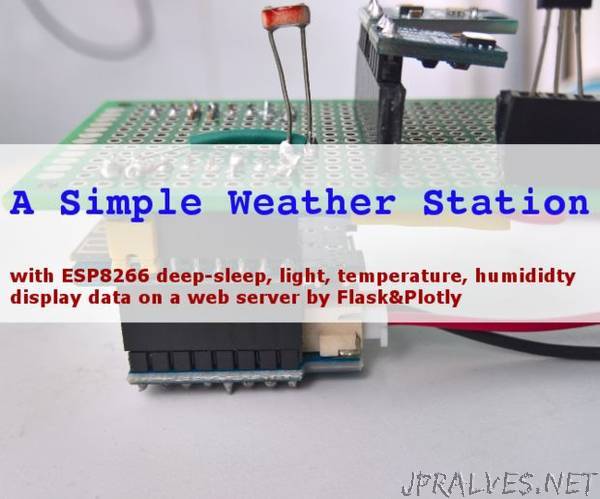
“Would that be fun to know the temperature, humidity, or light intensity on your balcony? I know I would. So I made a simple weather station to collect such data. The following sections are the steps I took to build one.
Let’s get started!
When I planned to build a weather station, I was dreaming to have a full-fledged weather station that has wind speed, rain measurement, full-spectrum solar sensor, but turned out, that would not be cheap, and the purchase cost could end up at least $100. I gave up the full options and started to build one with $10, more or less. $10 is the cost of basic components of the weather station as the parts below.
Here are the parts:
1. ESP8266 Wemos brand costs $2.39 pcs on Aliexpress. I would recommend Wemos brand because its EPS8266 is easier to program, update, and have 4MB flash or more.
2. Wemos Charger-Boost Shield costs $1.39 pcs. This is another benefit to use this brand. It has a boost-up board for Lithium battery (nominal voltage = 3.7V) to a 5V for ESP8266. The board also come with charging option with a max charging current = 1M.
*Note: There is a cheaper option for Lithium battery charging/boost up. This one costs $1.77 for 5pcs. However, when I used this board for ESP8266 (either Wemos’s or a bare ESP8266), the deep-sleep mode of ESP8266 triggered a reset right after making the ESP8266 in a loop of sleep-reset-sleep, which is very annoying. If you know what was happing, please inbox me.
3. Wemos also has several shields for temperature and humidity but I am going to build from individual components. Photoresistor (or light-dependent resistor — ldr, cheap), a luminosity sensor such as BH1780 or TSL2561 (about 0.87-0.89c pcs), a temperature sensor such as DS18B20 (75c each), and a humidity and temperature combo such as DHT22 ($2.35 here) or SHT21 ($2.20 here). A total cost for the sensor ~$4.
4. Lithium battery. I salvaged one from a 7.4V Canon Battery which is two 3.7V battery in serial or 18650 Lithium battery. Each 18650 costs about $5 apiece. I have a picture show the tear-down the camera battery pack. Be careful though, short-circuiting when cutting through the plastic cover could generate extreme heat, and burn.
5. PCB board, jumper, wire, soldering, your time, maybe some debugging skills.
Let wire components together follows the schematic above.”
