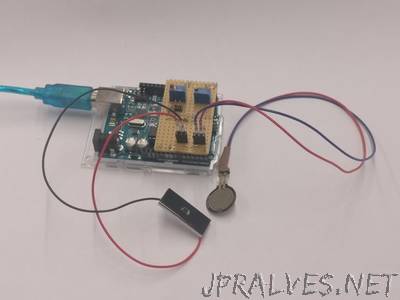
“In this Instructable we will show you how to do simple input latency measurements with an Arduino.This instructable is part of a final project of the lecture Designing Interactive Systems 2 from the Media Computing Group at the RWTH Aachen University. It was created with the support of the Fablab Aachen.Goal of this project is to describe how to build a measurement system with simple and cheap components, that measures the latency between a mouse click (or a different input signal) and the actual change of an object on the computer screen. This system can be used in HCI research to compare different input methods or simply measure the latency of different systems.To measure the latency of a system reliable we need to connect sensors from the outside to it that can not be influenced by the system itself. To accomplish this, we use a pressure sensor to detect the input of the system. A pressure sensor can be placed for example on top of any mouse button without disassembling the mouse and can sense when the mouse button is pressed. Additionally this sensor can be placed on any other button (like a key from a keyboard), a touchpad or in some cases even on a touchscreen. This external sensor is independent of the mouse button itself. The change on the screen will be detected with a lightsensor (diode) that is placed directly on the screen surface. This diode will measure the change of the light emitted by the screen at a specific point. In our case we use a simple website that changes the color from black to white when clicked. The measurement itself will take place on an Arduino microcontroller board that is connected to the light sensor and the pressure sensor. This way the measurement system is independent from the system that will be measured. Our system has its limitations and is meant to be seen as a basis for future latency measurement systems.”
