Other
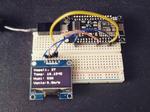
“Weather station with esp8266 and 1.3” Oled display. MarCas Tech has developed a small DIY weather station using a simple ESP8266 and a 1.3” OLED display. Within the code, you need to make a WiFi connection with static …
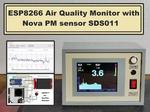
“This device measured both PM10 and PM2.5 particles uses the Nova PM SDS011 Laser Sensor, and has a graphic presentation on a TFT display. This time I will show you how to make a device that monitors the quality …
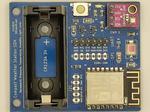
“Powered by a single CR123 Lithium battery (or external 3V3 DC or USB), this CWX SDK is a Compact Weather Station for IoT Home Automation A local Radio and Electronics Club were looking for a small STEM project which could …
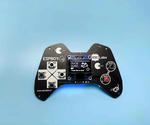
“Hello there, In this tutorial, I will make a gaming console using an esp12e and OLED display. With this console, We can play different types of retro games like snake, space war, duck hunt etc. so let’s get started …
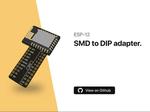
“A breadboard-friendly adapter for the ESP-12 I’ve been using the ESP8266 on some development boards (Wemos D1, NodeMCU, ESP DevKitC, etc.) for a while now. But recently, I started to research how I could develop embedded systems beyond …
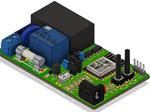
“You’ll learn how to create and assembly your own IoT PCB Automation. Anyone can control a device over the internet using this electronic board with Wifi support. It has the necessary features to facilitate installation and automation. The wifi …
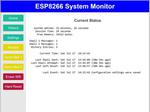
“Self-contained starter system for ESP8266 projects. Includes a web console, web editable preferences system, event log, email capability Esp8266 Starter System - A Self-contained starter system for development of ESP8266 based projects System includes the following base capabilities WiFi support, including …
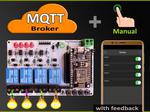
“How to make MQTT ESP8266 NodeMCU Home Automation project to control relays from the switch and smartphone (Circuit + Code) through internet. In this IoT project, I have shown how to make an MQTT ESP8266 Home Automation project to control a …
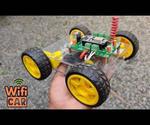
“Today we are going to make an esp8266 smart car. This WiFi remote control car runs with ESP8266 module (NodeMCU).This NodeMCU comes with MicroUSB port and also can be operated with 7-12Volt. You can also program it with Arduino …

“So, in this video we’ll be seeing how to build this haptic feedback device and the ambient light system which reacts to the player’s health value inside a PC game! For that we’ll be using the ESP …
