
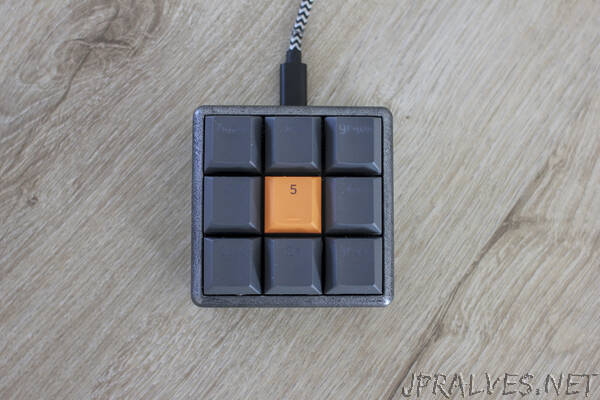
“With a MIDI library available for the Raspberry Pi Pico making a little MIDI “piano” is relatively easy. The MacroPad which I build last month is the perfect little device to play around with this. If you are interested in how to connect buttons and LEDs to a Pi Pico, check out that post here!
A MIDI controller behaves different from a USB keyboard; once a key is pressed it generates a MIDI signal that can be picked up by a compatible instrument or software to produce a sound. The signal contains the note that needs to be played, but can also contain the velocity (how fast/hard a key is pressed). Furthermore, it is possible to send signals to bend notes, set the volume of an instrument, … Keys also don’t repeat after being pressed longer. So there are a number of thing to change in the code.
Getting started
If you want to follow along exactly, first you’ll have to build my MacroPad, though pretty much any Raspberry Pi Pico with a few buttons attached will do. Just make sure to update the code below so that the pins correspond with your hardware.
The Raspberry Pi Pico will need to run CircuitPython for this to work, my MacroPad already had this but if you start from scratch you’ll have to flash the correct firmware to the Pico. Next, connect the Pico to a computer, it will show up as a USB drive. Get the AdaFruit MIDI library, and copy the folder adafruit_midi (from the repo) to the lib folder on the Pico (create the latter if necessary).
You will also need to install a tool that turns the signals from a MIDI device into music. For Windows there is a free tool Piano 10 which is fine to start with. Look for it in the Microsoft store.
Finally, create a file code.py in the root of the Pico drive and add the code below. Restart the Pico, and done ! You now have a functional MIDI device. Though, let’s go over the code, so you can change the parts to match your project in case you aren’t using an exact replica of my MacroPad.”