
“There is an odd famine of information about this particular subject available in text form. If you google “usbasp tpi” and things like it, you’ll find posts on the avr forums filled with incorrect information and schematics. This post is an attempt to remedy this.
I intend to show exactly the following, no more and no less:
What is TPI?
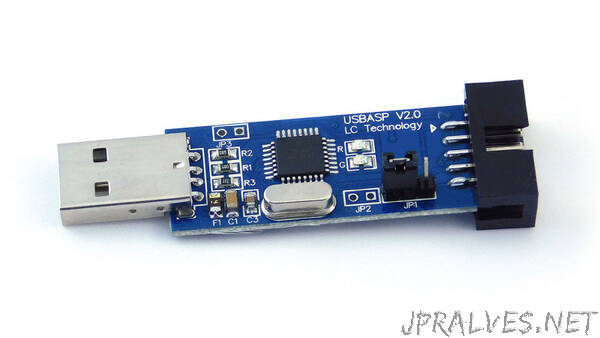
How to reprogram your usbasp to be capable of TPI.
How to wire up a TPI-only microcontroller (such as the ATTiny20) to the usbasp’s ISP interface.
Why you might pick one of these newer devices, rather than sticking with the tried-and-true ISP AVRs.
What is TPI?
TPI is the Tiny Programming Interface found on “somewhat newer” AVR microcontrollers (i.e. made in the last decade or so). There is yet a newer one which has shown up on AVRs post-Microchip acquisition (UPDI) which isn’t very publicly documented, but there are utilities like pyupdi which aim to support that interface without a programmer.
TPI is quite a bit smaller than the older ISP interface. Rather than looking like an SPI port, it has just three lines:
#RESET: Just the same as before, the reset pin is used to control whether or not the interface is active.
TPIDATA: This the bidirectional data line. Unlike ISP, all data is sent on this single line.
TPICLK: Clock line.
The timing of these three lines is described in the part datasheets and isn’t complex. It is fairly slow, but since the devices that have TPI don’t usually have much program flash, it doesn’t really make a difference. The logical details on how the interface works are also documented in the part datasheets, but that logic has already made its way into avrdude.”