
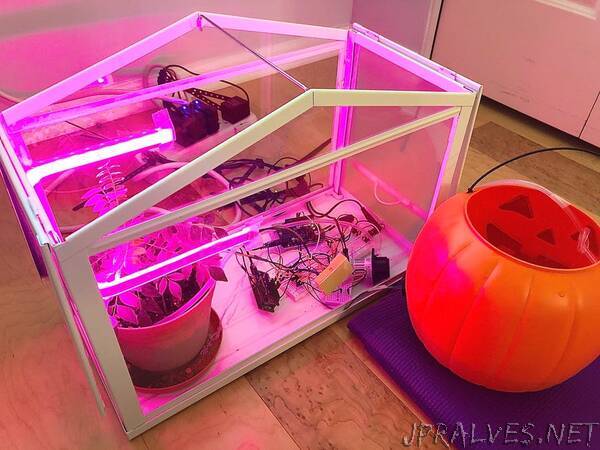
“This greenhouse only needs quarterly maintenance, water refills, and heat maintenance to grow high-quality plants in the optimal conditions.
Story
Sometimes, taking care of plants is a big hassle. You need to give them just the right amount of sunlight, water them constantly, and keep them at the right heat. Well, work hard no more! With this greenhouse, you only have to perform three easy things. (1), fill the water tank every so often, (2), change the heat level of the greenhouse. And (3), provide maintenance to the electronics every 1-3 months. It’s as easy as pie!
What The Greenhouse Does
- Light: It provides sufficient lighting to the plant. The amount of lighting that enters the greenhouse is measured, and depending on how much, it adjusts the brightness of the grow lights. The color of the grow light is 3 parts red, one part blue for each individual Neopixel.
- Water: Via a peristaltic pump, the plant is watered. The water comes from an external tank that you can either 3-D print or retrofit yourself. The pump provides approximately 100ml per minute. There are two different programs provided, and they water the plant in different ways. One waters the plant depending on the soil moisture reading provided by the Adafruit STEMMA soil sensor. However, the unit I got was extremely inaccurate, and if anybody has the same problem or wants to do the project without it, there is a second way. Te second way waters the plant at 7:00 P.M every day for 2 minutes. This provides about 200ml of water, and the time of day and amount of water can be easily changed.
- Water Tank Emptiness Detection: The user is alerted when the water tank is below the set level using a water level sensor. If the water is above the sensor, the light in the Blynk app is green. If the water is below the sensor, the light in the Blynk app is red.
- Uploading to Blynk: The Arduino MKR WiFi 1010 with an ENV shield will upload soil moisture, temperature, and humidity to the Blynk application. Go to the Connecting And Using Blynk section for instructions on how to set up Blynk and what the app will look like.”