
“I had a number of projects in mind that I wanted to do without the use of a microcontroller. Yet, I needed some sort of persistent data storage that was easy to access on a breadboard with just basic logic components.
I decided to try and use old EEPROMs for this. In contrast to most newer EEPROMs they have parallel input and output pins for address and data, making it trivial to read from.
However, since parallel I/O requires lots of pins, these chips tend to be much larger and expensive than their modern serial counterparts that have largely replaced them.
Atmel AT28C256
I chose to target the Atmel AT28C256 as it’s still actively produced. It has 15 address pins for 2¹⁵ = 32768 addresses. Each address points to one byte, the content of which appears on the 8 I/O pins for a total capacity of 32768 bytes, or 256 Kibibit.
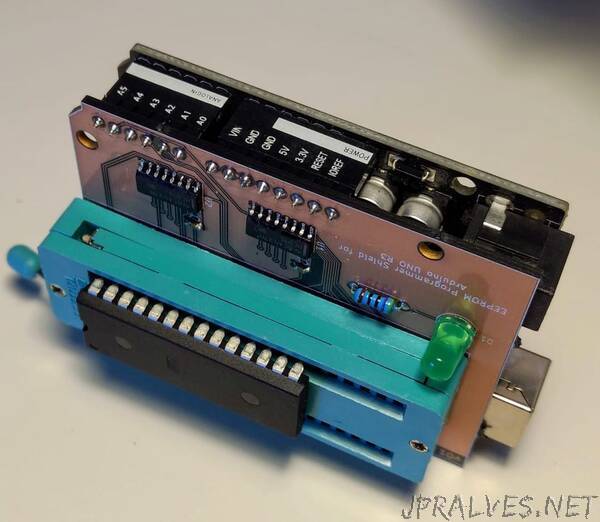
Programming
To load data you need an EEPROM programmer and like the chips, these devices have become somewhat rare and expensive. Hence the project to build one ourselves.
The easiest approach is probably to use a microcontroller to bridge between the chip and a computer, run a bidirectional serial protocol between the microcontoller and the computer to send image data back and forth.
Since the AT28C256 requires 5v for writing, we can’t use a Raspberry Pi or Arduino Nano/Mini as their GPIO ports are all 3.3v. The regular old Arduino UNO is 5v though and so should work nicely.”