
“Creating a high performance edge processing node using the Ultra96, MIPI and DisplayPort.
Introduction
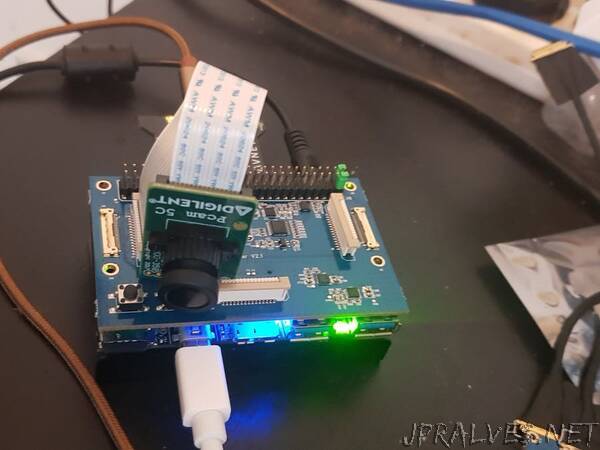
Image processing at the edge requires not only high performance but also, compact size and power efficiency. The Ultra96 enables us to create a image processing solution which uses the processing system and its programmable logic to its maximum potential. Thanks to the support for MIPI DPhy and DisplayPort we can create a very compact and efficient solution. Once we have this solution passing through the image data we can then expand it to support applications including machine learning and implementing image processing at the edge. In this project we are going to look at how we can create an image processing system which uses the PCam5 or R-PI Camera and its MIPI input to receive an input and then output the image over the DisplayPort Output.
Hardware Architecture
We will use the 96 boards MIPI interface, this provides everything we need to communicate with the camera. However, we need to understand the hardware connectivity. PCam5 uses two MIPI Lanes, control of the PCam5 is over I2C this is connected to the PCam5 over the following route
Ultra96 - Zynq Us+ PS IIC1 (Ultra96 Schematics - U1)
Ultra96 -TCA9548 IIC Switch (Ultra96 Schematics - U7)
Ultra96 - High Sped Connector Pins 32 and 34 (Ultra96 Schematics - J5)
MIPI Board - High Speed Connector Pin 32 and 34 (MIPI Schematics - J7)
MIPI Board - Header connector Connect I2C_SDA/SCL to CAM1_SDA/SCL with Jumpers (MIPI Schematics J13)
MIPI Board - Level convert from 1v8 to 3v3 (MIPI Schematics - U18)
MIPI Board - Connect to Camera Interface (MIPI Schematcs - J5)
To help visualize I have drawn the diagram below - Of course on the PCam5 this is then converted back to 1v8.”