
“Summary of the steps:
1. Install the ” Arduino Bluetooth RC Car” application using the link below:
https://play.google.com/store/apps/details?id=brau…
2. Download the Arduino .ino code and the schematic
3. follow the schematic to solder all the part together
4. compile the Arduino code to your Arduino board
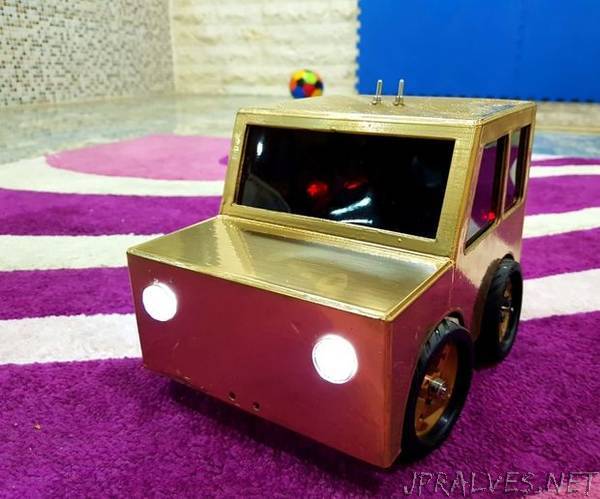
5. 3D print a body for the car using the provided STL file (optional)
6. Attach the printed body to the frame of the car and your done.
List of components:
- 1 X Arduino pro mini or Arduino nano
- 2 X 6V DC motors (left and right)
- 1 X 24g servo (for steering)
- 1 X L298 H-bridge module
- 1 X Bluetooth Module (HC-06 or HC-05)
- 2 X white LEDs
- 2 X red LEDs
- 2 X 1k Resistors
- 2 X 220 Resistors
- 2 X On/Off switch
- 1 X 64x32 Oled display (0.49”)
- 4 X wheels
- 1 X frame (prebuilt or custom)
- 10 X 1m wire
- 1 X perfboard (optional)
- 1 battery (powerful enough to supply the motors)
*Important Note: You need to know howto solder components together.”