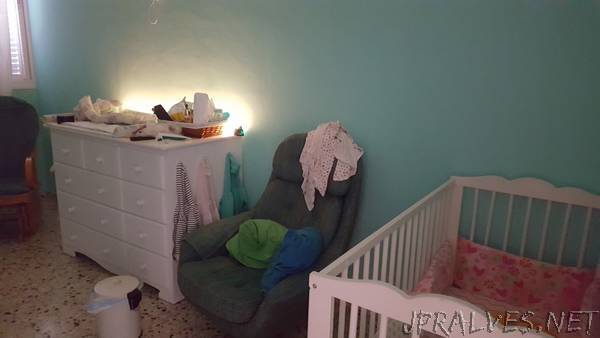
“It has been quite a long time since I have written a post on this blog. The main reason is the free time I have, or haven’t, since my baby daughter was born 9 months ago.
Nevertheless I keep making fun project, just have less time to document them - But I keep taking photos and videos of everything I do so eventually it WILL be documented here on the blog.
Intro
So lets talk about a really short and easy project - two hours max - I guarantee!
The idea came when my SO and I have decided to try improving our baby daughter sleeping habits. We tried many things, where one of the suggestions (by a professional in the field) was to get a timer-controlled night light, which will be off during the night and will be automatically turned on in the morning at a pre-defined time. Using this method the baby starts a routine, which is isolated from her parents’ interference, where she learns that as long as the lights are off it is not yet the time to wake up (and yes - It actually works!).
For the last two weeks we have used this kind of mechanical timer outlet and connected a regular night light to this outlet. It worked pretty well as long as our baby tried to wake up before the adjusted time. After a while, our baby kept sleeping until the timer-controlled-light was turned on and we have noticed that when she wakes up, it is not because of the light turning on, but because of a noisy “click” sound which comes from the mechanical timer when it enables the outlet power. Furthermore, we thought it could be a nice feature if we could change the timer few minutes backward or forward if needed, but without interfering with the sleeping routine.
Well, that was the point were I could finally say “Don’t worry, I’ll handle it” - And took a few hours to myself to build a new timer controlled light which doesn’t do this nasty “click” sound.
The solution was obvious - Lets use an addressable led strip which will be turned on and off using a controller. And if we already use a controller - Why not connecting it to the internet and control it from an app on our phone. Also, if the led strip can change colors, why not use it as a replace of the other night light (which is actually turned on all night, but as a very low red light)
The ESP8266 was a great choice, and lots of things have changed since the last time I have used it. A few years ago there was a lot of overhead when dealing with the ESP8266, I had to solder the right pins, write a code which send data to the web, get a domain and write code on a server which receive and send data to the ESP8266 and much more. After a while some cloud server started to support the ESP8266 and the ESP8266 development boards became easier to use with a USB header and standard pinout.
The Project
Cutting a long story short in case you have skipped the intro, the project consists of an addressable LED strip which is controlled by an ESP8266 using Blynk app. The strip has two options of night light and day light which can be adjusted entirely by the app, including the LEDs’ intensity and amount. As a bonus, there’s a DHT22 (Temperature and humidity sensor) which is also connected to the ESP8266 and sends data to the app as well.”
